


How to: Set up a splitboard
Splitboarding

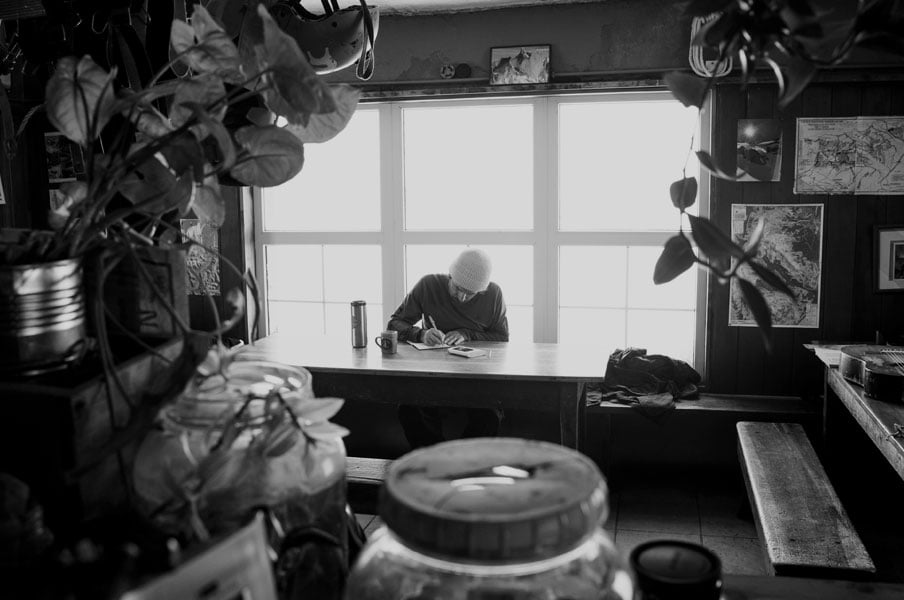
Mountain Guide Neil McNab shows us how to plan set up a splitboard.
When it comes to setting up your solid snowboard, it’s usually a case of two disks, eight screws, and a little bit of adjustment in the strap lengths. Splitboarding, on the other hand, takes a little more finesse to dial in the correct stance.
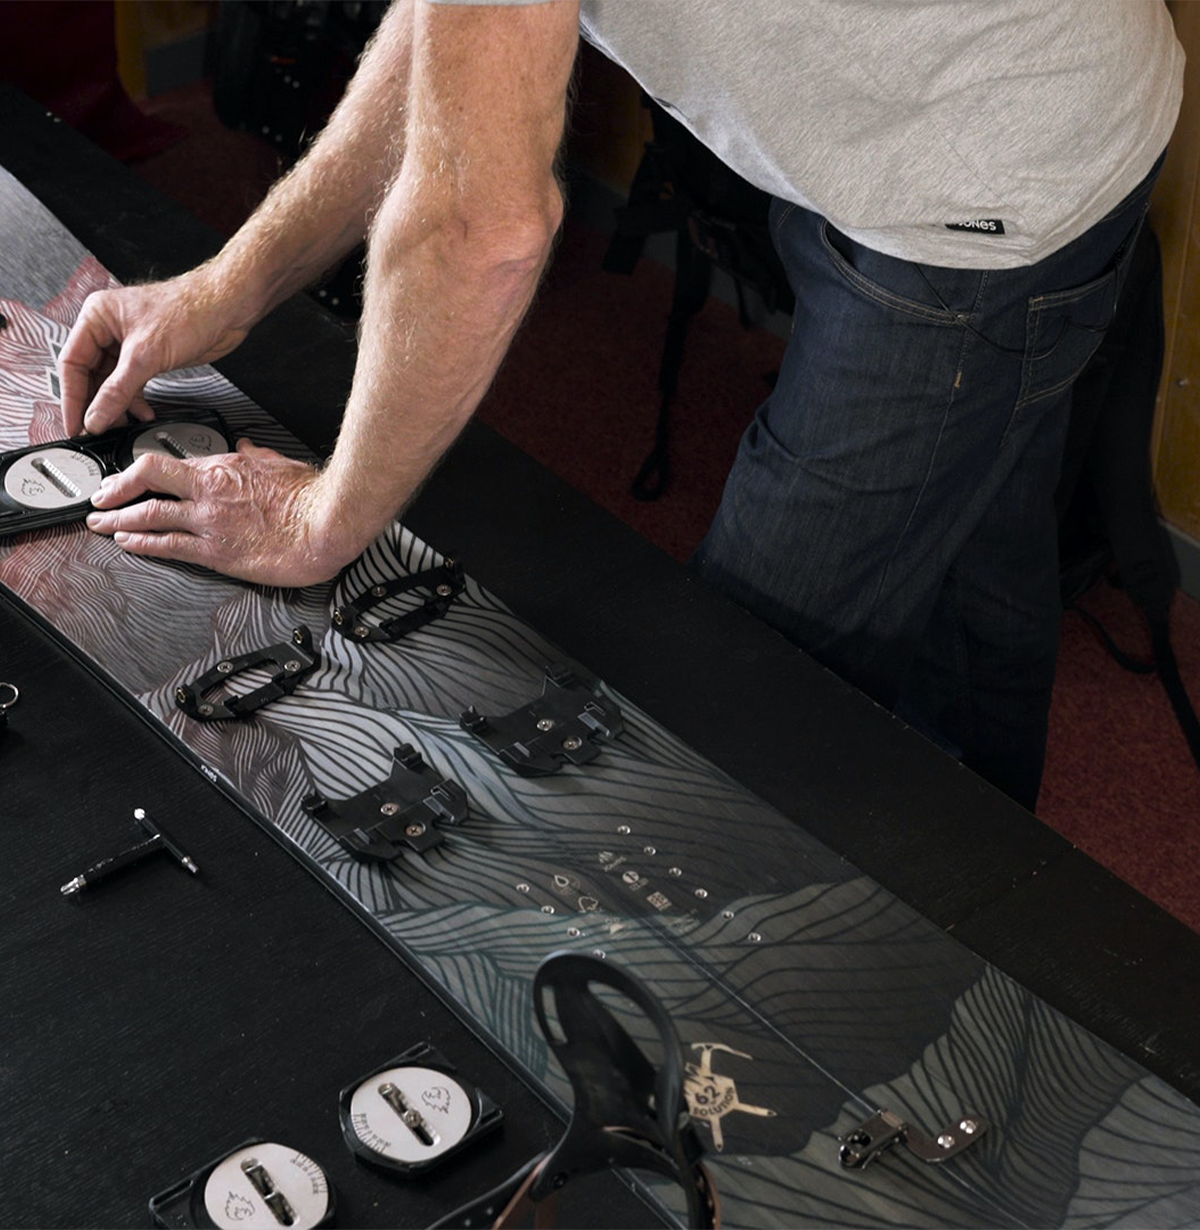
That being said, with just a screwdriver, a measuring tape, and the splitboard binding interface (like the one shown here from Spark R&D), you’ll be good to go in no time.
In this video, UIAGM Backcountry Snowboard Guide, Neil McNab talks us through how he sets up his splitboard, and how you can dial in your perfect fit, too.
Some key points to note:
Tighten everything well at home, but always carry a tool with you in the backcountry. There’s a lot of force and torque being put through the binding interface, and they can often work themselves loose out on the trail.
Adjust the size of the bindings to the boots before you you fit the pucks to the board, so you don’t have too much overhang on either the heels or the toes (about an inch or so of overhang on either edge is normal)
Measure your stance width and line it up with the hole patterns on your splitboard. Most people will ride with a similar stance width to their solid setup.
Use the Spark R&D templates to align the pucks in place with your stance angles and the centring between the edges. Only partially tighten the screws at this stage, and then fine-tune the position of the template, before cranking the screws securely.

