


How to: Plan a tour for splitboarding
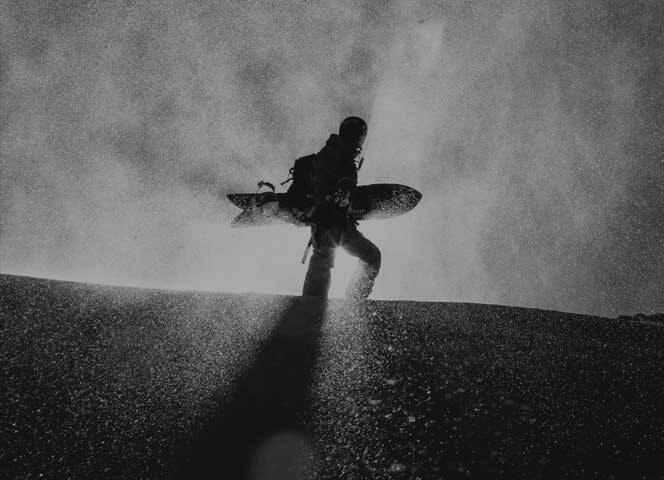
Splitboarding
Mountain Guide Neil McNab shows us how to plan a route for a splitboard tour
By failing to prepare, you are preparing to fail.” Benjamin Franklin, 1779, Founding Father and Splitboard Afficiando.
While the above quote hasn’t been fact-checked, the message remains equally poignent for planning a splitboard tour in the backcountry. Though you’ll never have all the answers at your disposal, asking the right questions and sourcing the best information will certainly help you make safer, more calculated decisions out there.
In this video, UIAGM Backcountry Snowboard Guide Neil McNab, explains the process behind planning a splitboard tour in three simple stages: the long term, the short term, and the immediate term.
While you’ll never have all the answers at your disposal, asking the right questions and sourcing the best information will certainly help you make safer, more calculated decisions out there.
- Neil McNab
The long term
The sooner you begin this phase the better. For those of us lucky enough to live in the mountains you splitboard in, you have many advantages at your disposal. Being able to keep a track of the weather patterns (e.g snowfalls, prevailing winds, temperature fluctuations, natural avalanche activity, etc.) is an invaluable tool to understanding the conditions off-piste before you step foot out your door.
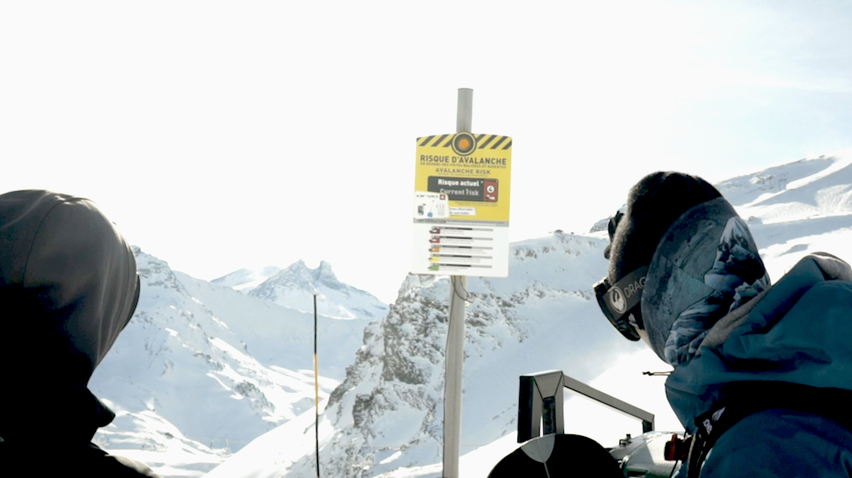
However, for those of us who aren’t quite so fortunate (or even if you’re travelling to a new and unknown location), there are still some tools at your disposal. Most mountainous regions around the world have a local avalanche information service which provides both the long term and current snapshots of local avalanche conditions. France, the USA, and even Scotland all provide in-depth avalanche bulletins.
No amount of staring at webcams or licking your finger and holding it into the wind while you stroke your chin can match up to years of experience and mountain knowledge.
- Neil McNab
And if you’re venturing even further afield – to one of the ‘Stahns, or the Himalayas – where this kind of information is particulalry sparse, well, who are we kidding, you probably have Jeremy’s phone number on speed dial, don’t you?
For those a little more in the know, digging a snow pit acts a bit like counting the rings on a tree stump – it provides you with a layer by layer history of the season’s snowpack and may reveal slabs, persistent weak layers, depth hoar, melt/freeze crusts, etc. It’s worth noting, a snow pit does not act as anything other than a snapshot of the exact location you dig – never treat it as your litmus test for giving the green flag to riding a line.
With all that said, the simple solution is always to hire a qualified, local, backcountry guide. No amount of staring at webcams or licking your finger and holding it into the wind while you stroke your chin can match up to years of experience and mountain knowledge.
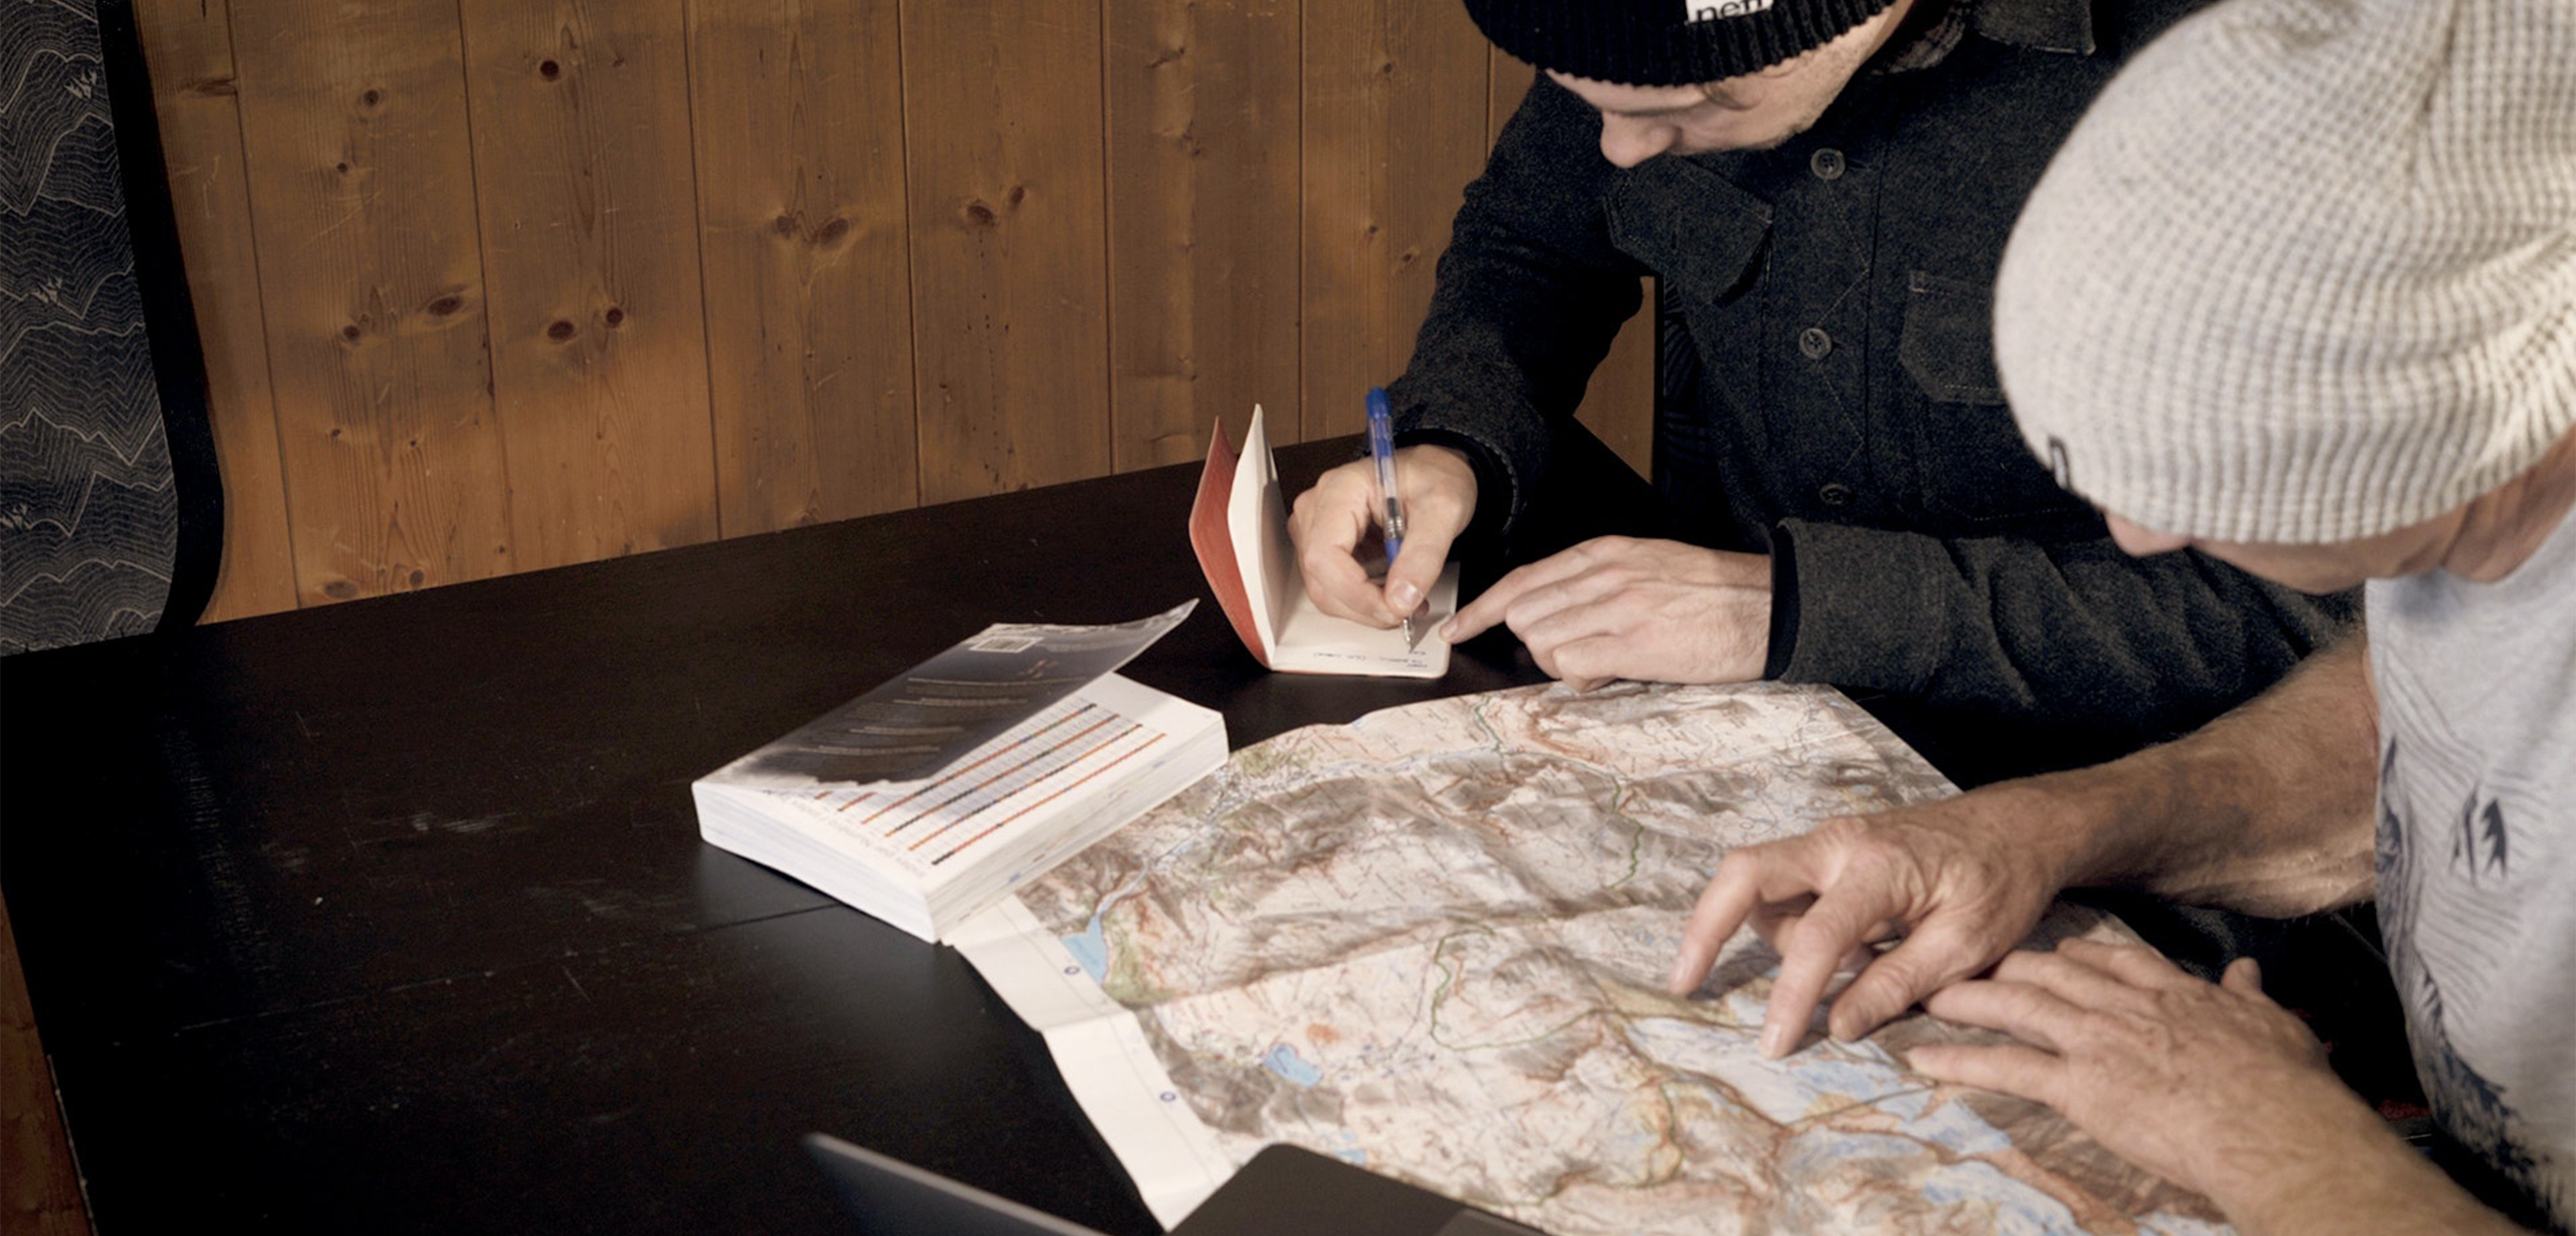
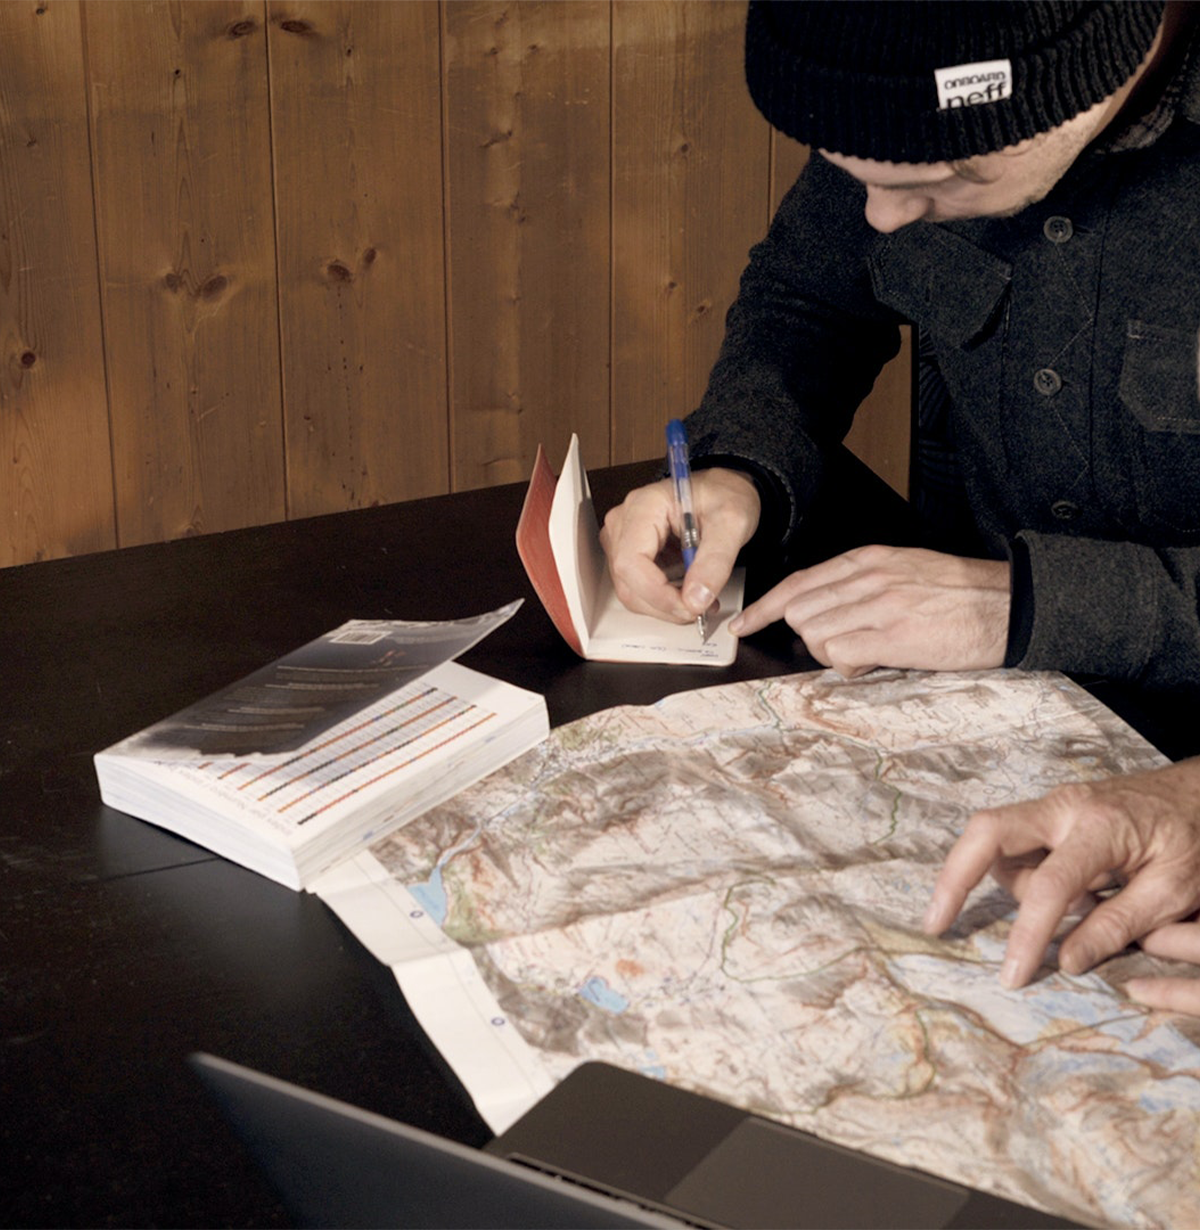
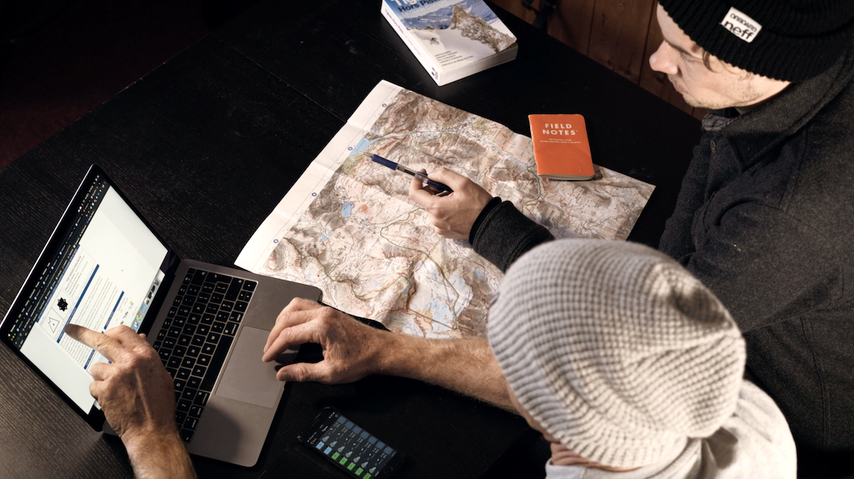
The night before
Here’s your chance to sit down with your buddies, dig out the map, bring up the avalanche bulletin and start to iron out the finer details of your tour. By this stage, you should already be aware of the long term conditions that will present hazards along the way.
However, the avalanche info the night before your tour will hone in on the more localized weather patterns and considerations to take. This includes a risk rating on all potential aspects and altitudes you may be touring/riding in, along with recent changes to the snowpack stability due to recent snowfall, winds and temperature changes.
The night before is a great time to consider your Plan Bs, Cs, and Ds, if the conditions or the group ability doesn’t line up as expected.
- Neil McNab
It’s a great habit to take notes of your Plan A for the day, including key coordinates, estimated time splits, and potential cruxes on risky aspects, steepnesses altitudes, or sun affected slopes in the afternoon.
With that in mind, the night before is a great time to consider your Plan Bs, Cs, and Ds, if the conditions or the group ability doesn’t line up as expected. Nobody wants to reach the top of a well-earned ascent only to realise you’re about 2 hours late of the safety window to ride it.
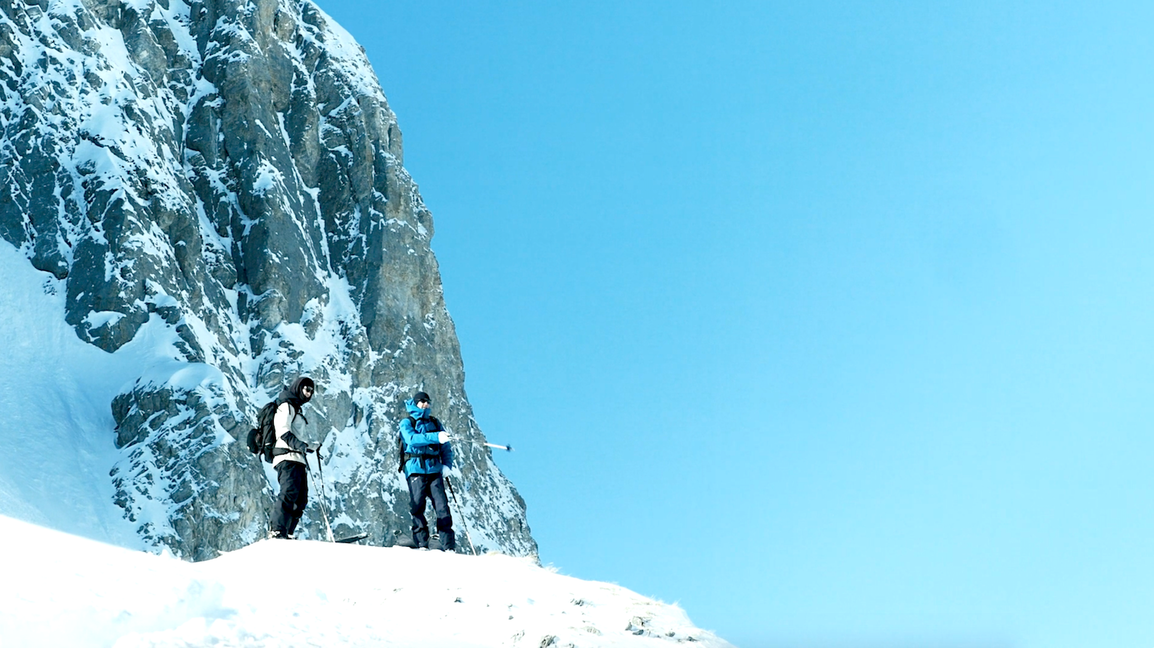
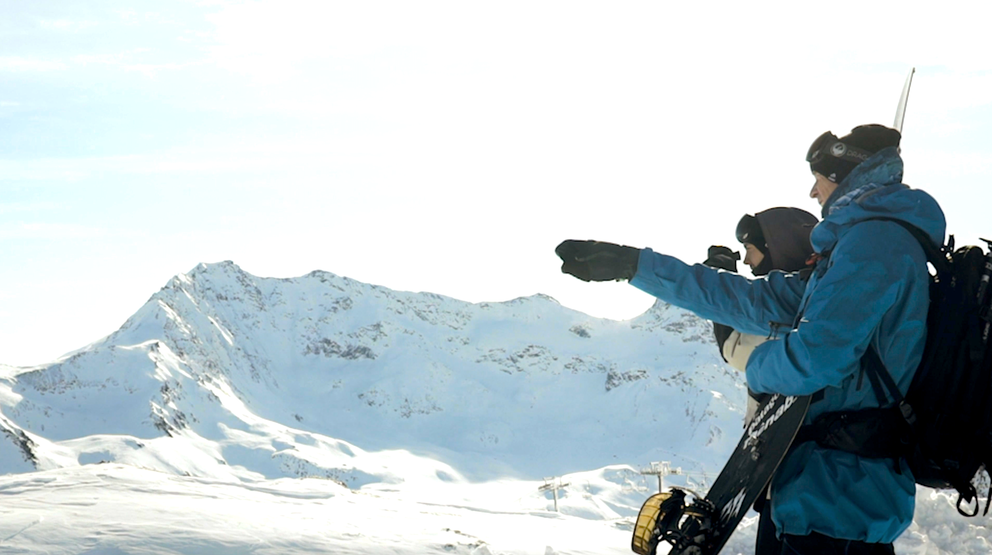
On the day
This is the third, final and, without a doubt, most important stage of the plan. You need to cross-check every assumption you’d made in the long term and the night before.
Do the weather conditions correspond to what you had planned for? Has the local ski patrol given a different avalanche rating to what you read the night before? Are the snow conditions changing faster than you thought? Have you seen natural or rider triggered avalanches on similar aspects that you planned to ride?
The night before is a great time to consider your Plan Bs, Cs, and Ds, if the conditions or the group ability doesn’t line up as expected.
- Neil McNab
Take nothing for granted, the mountains can change in a matter of minutes. The knowledge of an experienced group/guide should never be ignored, even when it contradicts previously acquired knowledge.
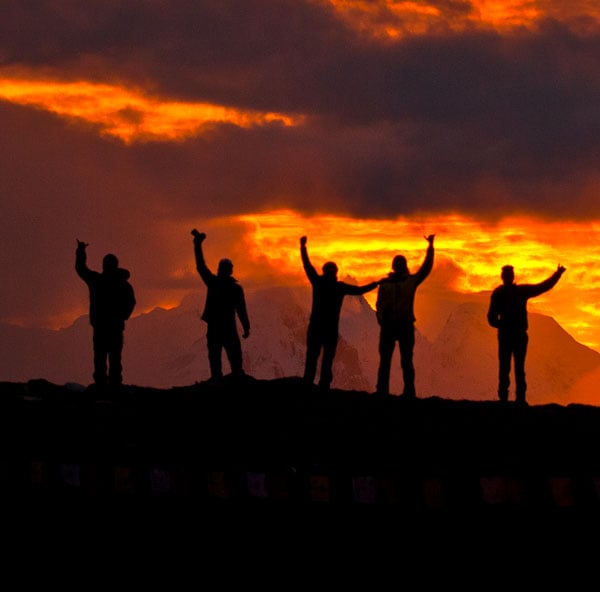
With that said, when the stars align, the plan is well-considered and the group (or guide) apply the right decisions on the day, you’ll be in for one hell of a trip!
Get educated, stay safe, and see you out on the trail!