


Pre-season prep: how to get ready for opening day
Tips & advices
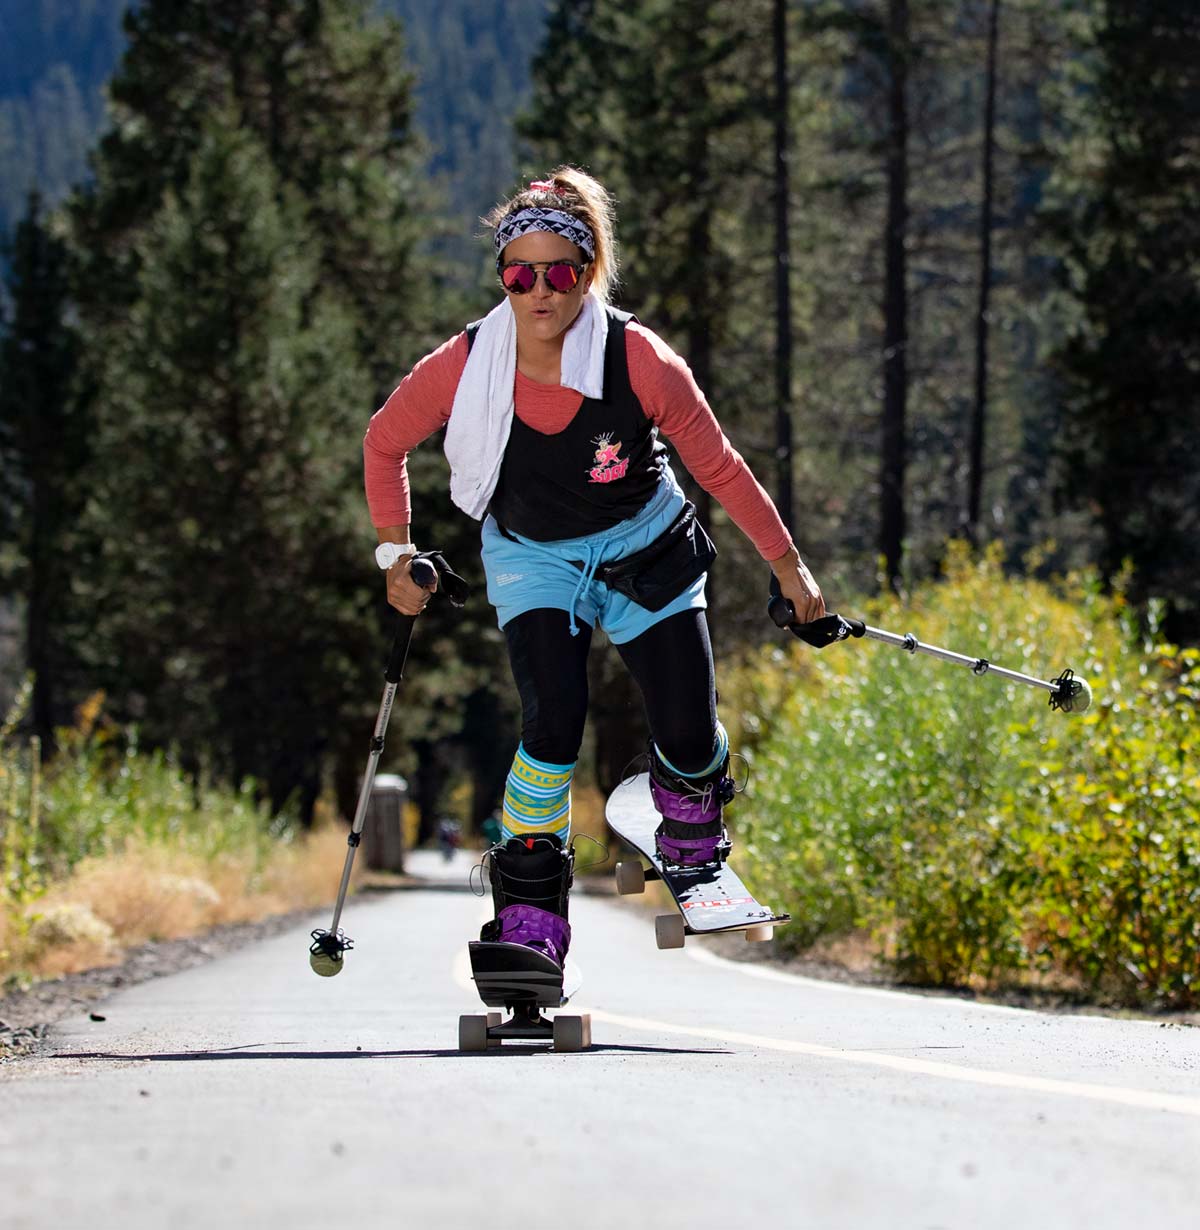
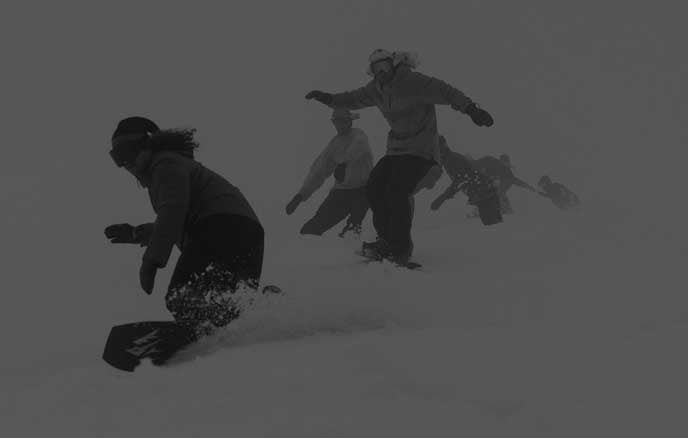
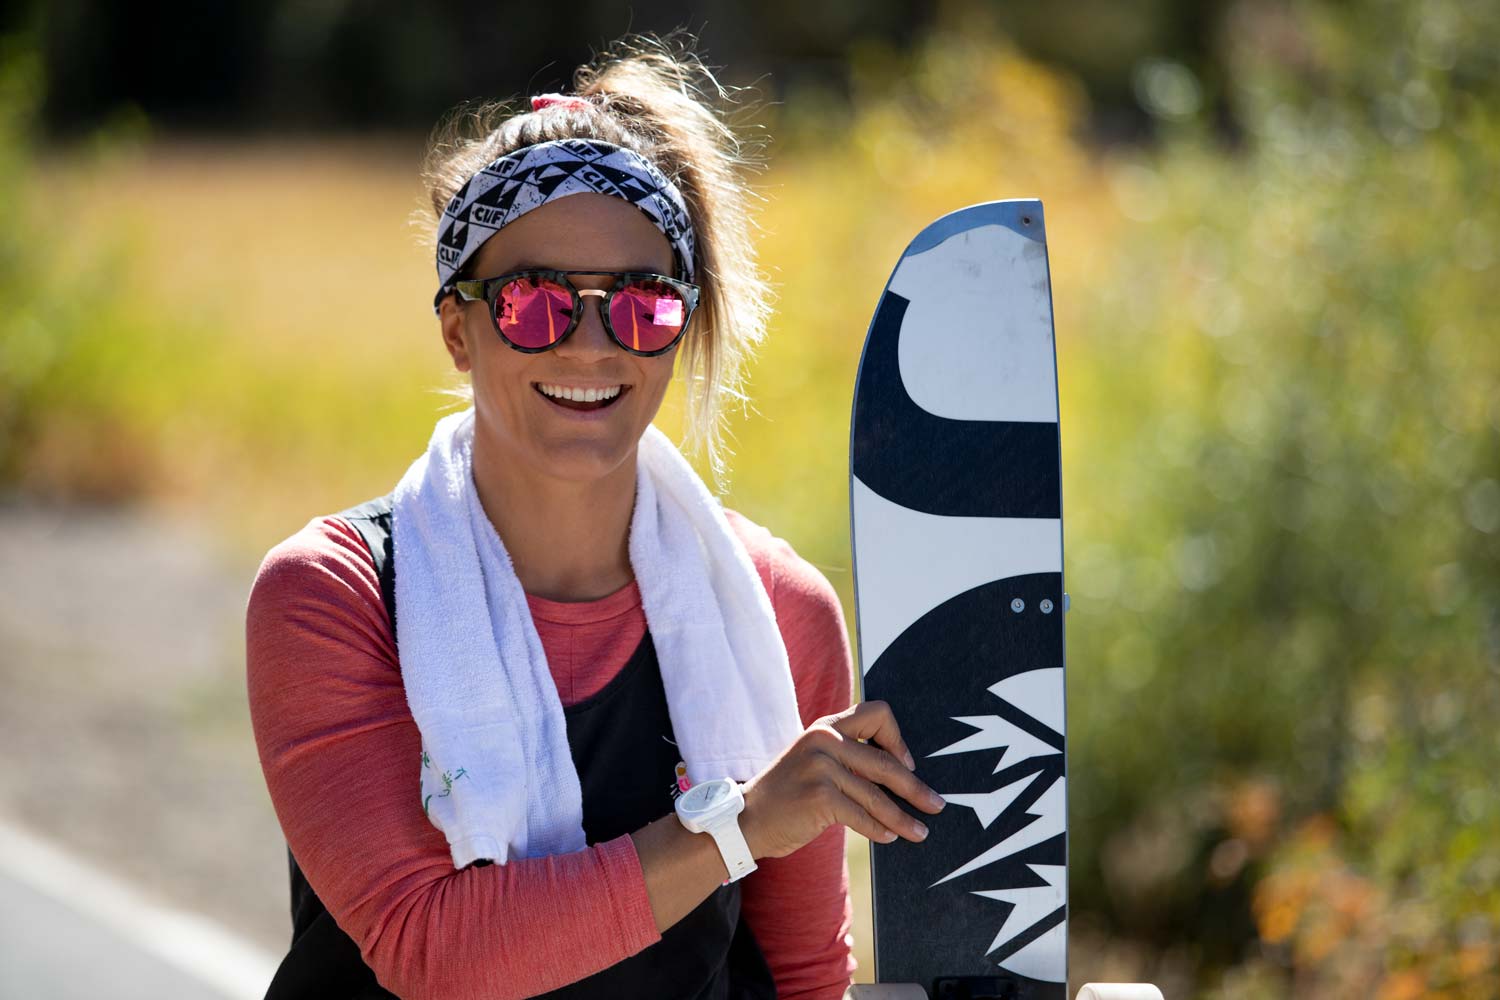
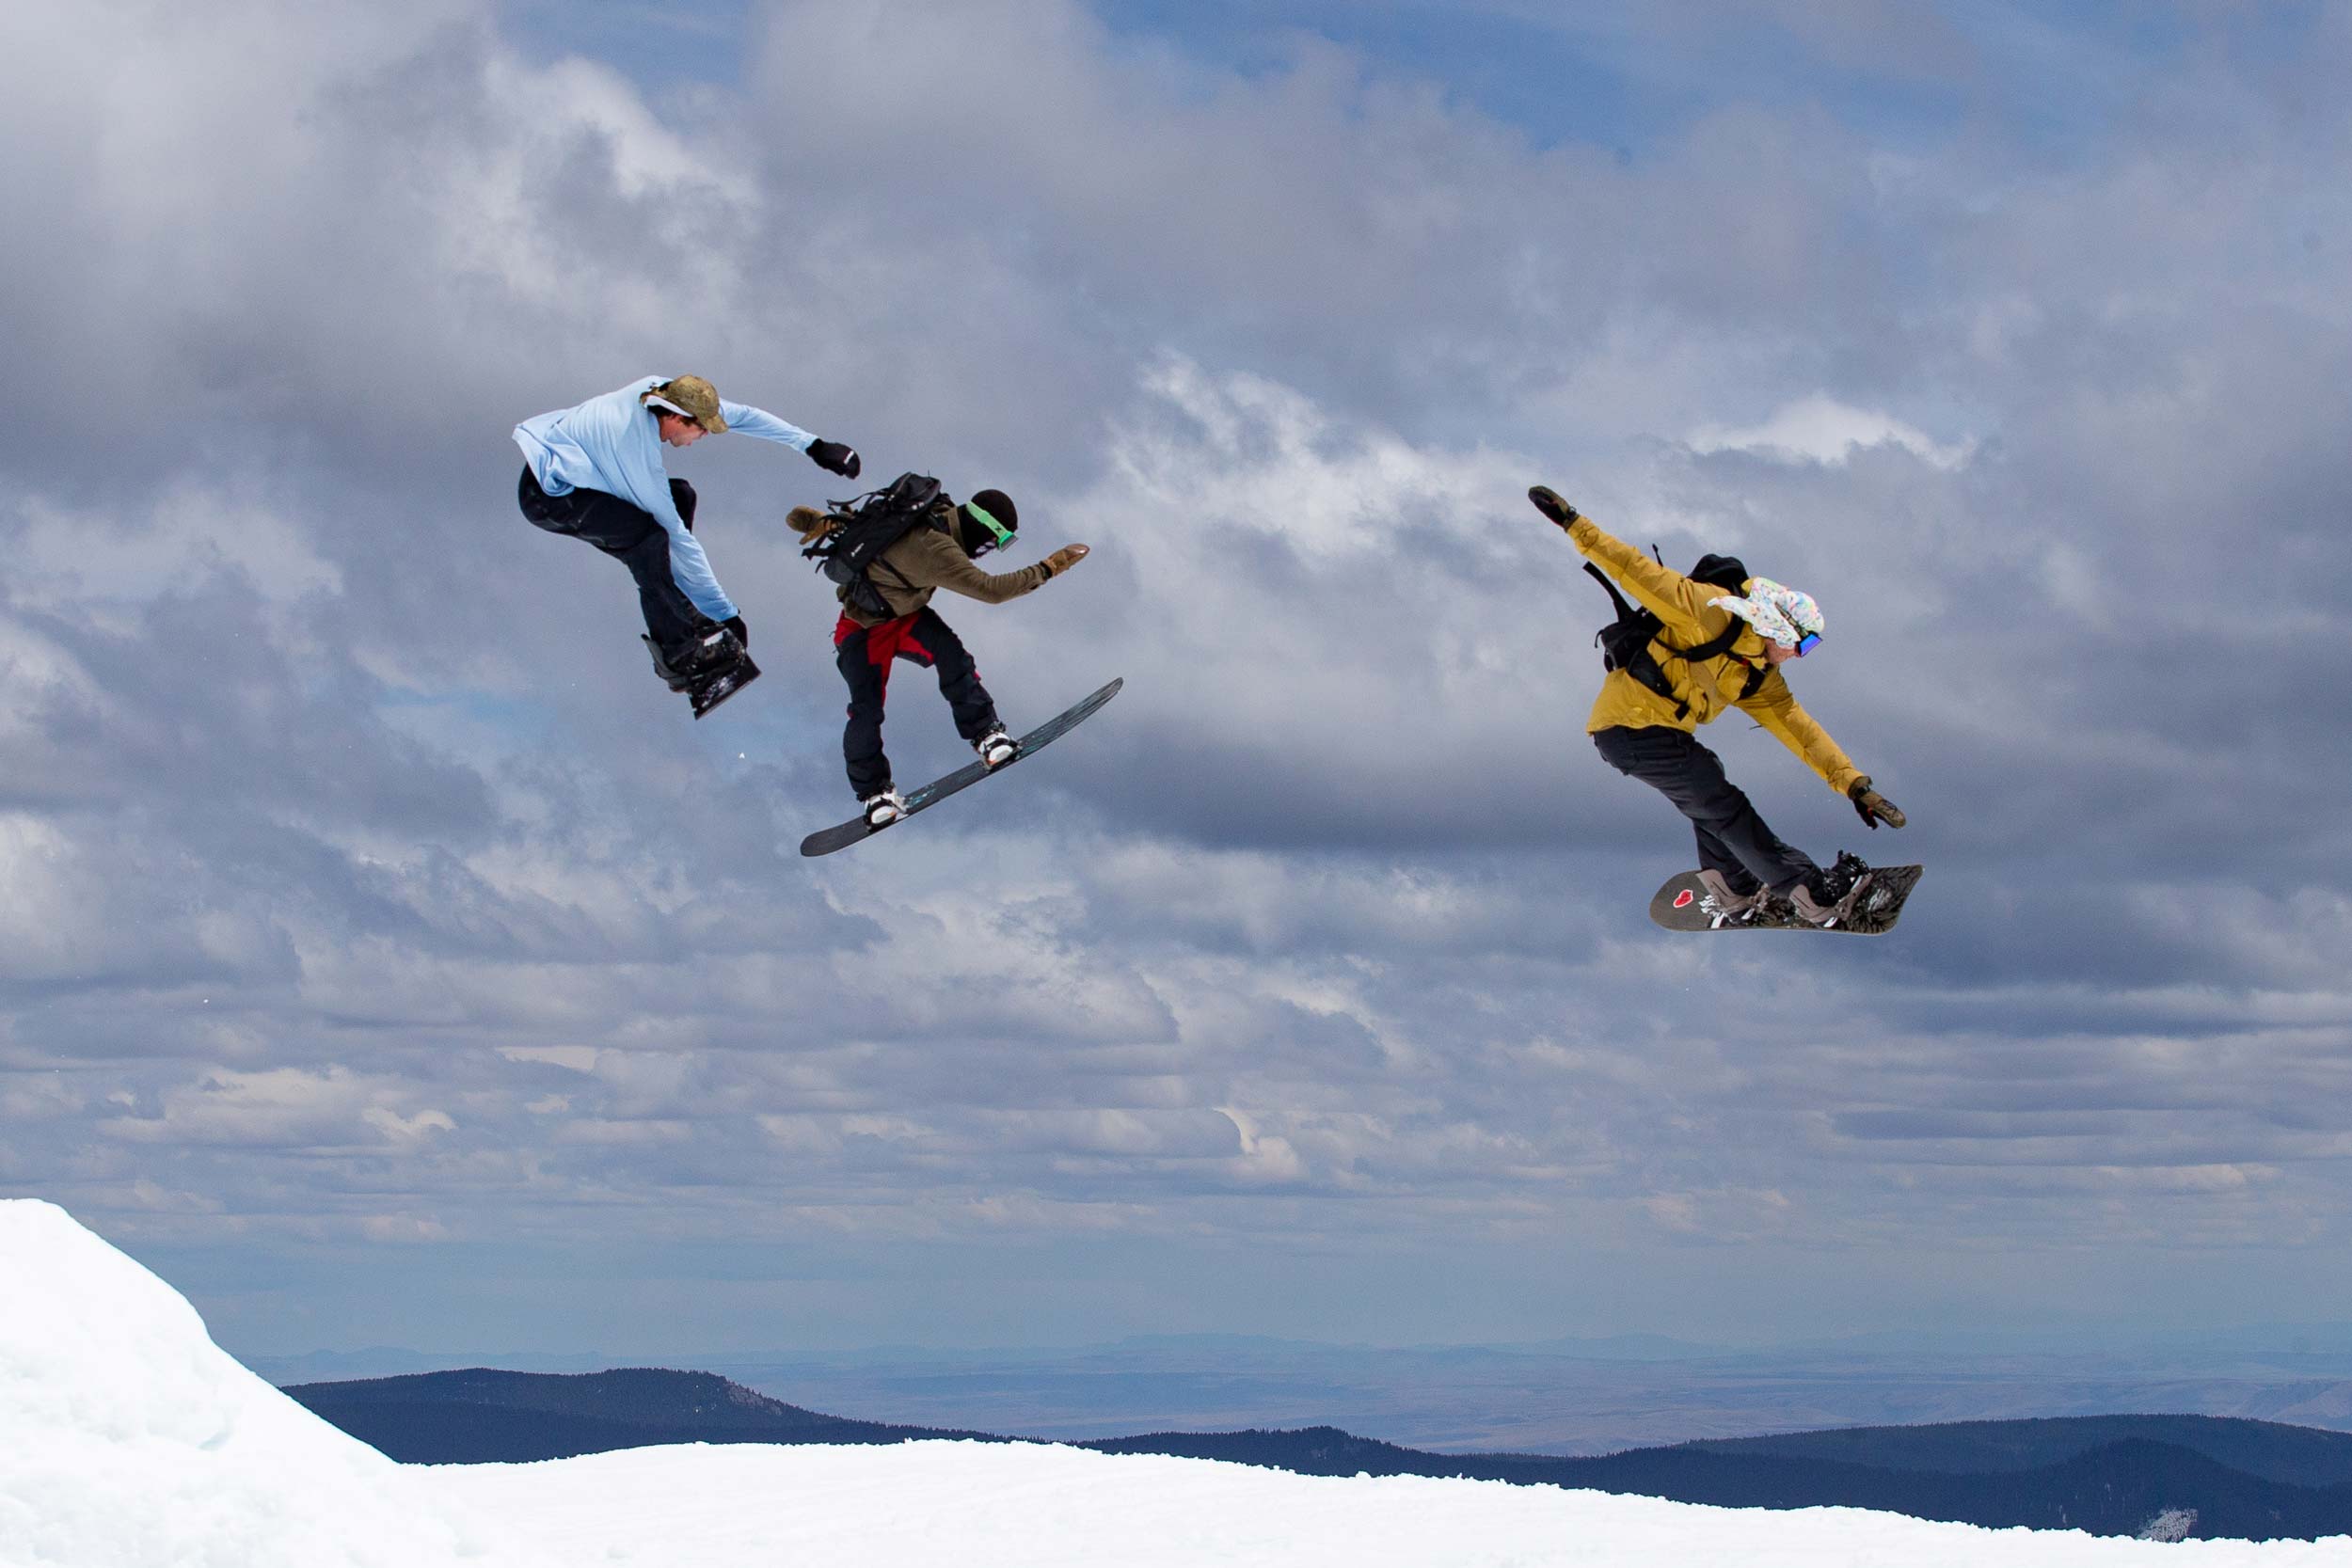
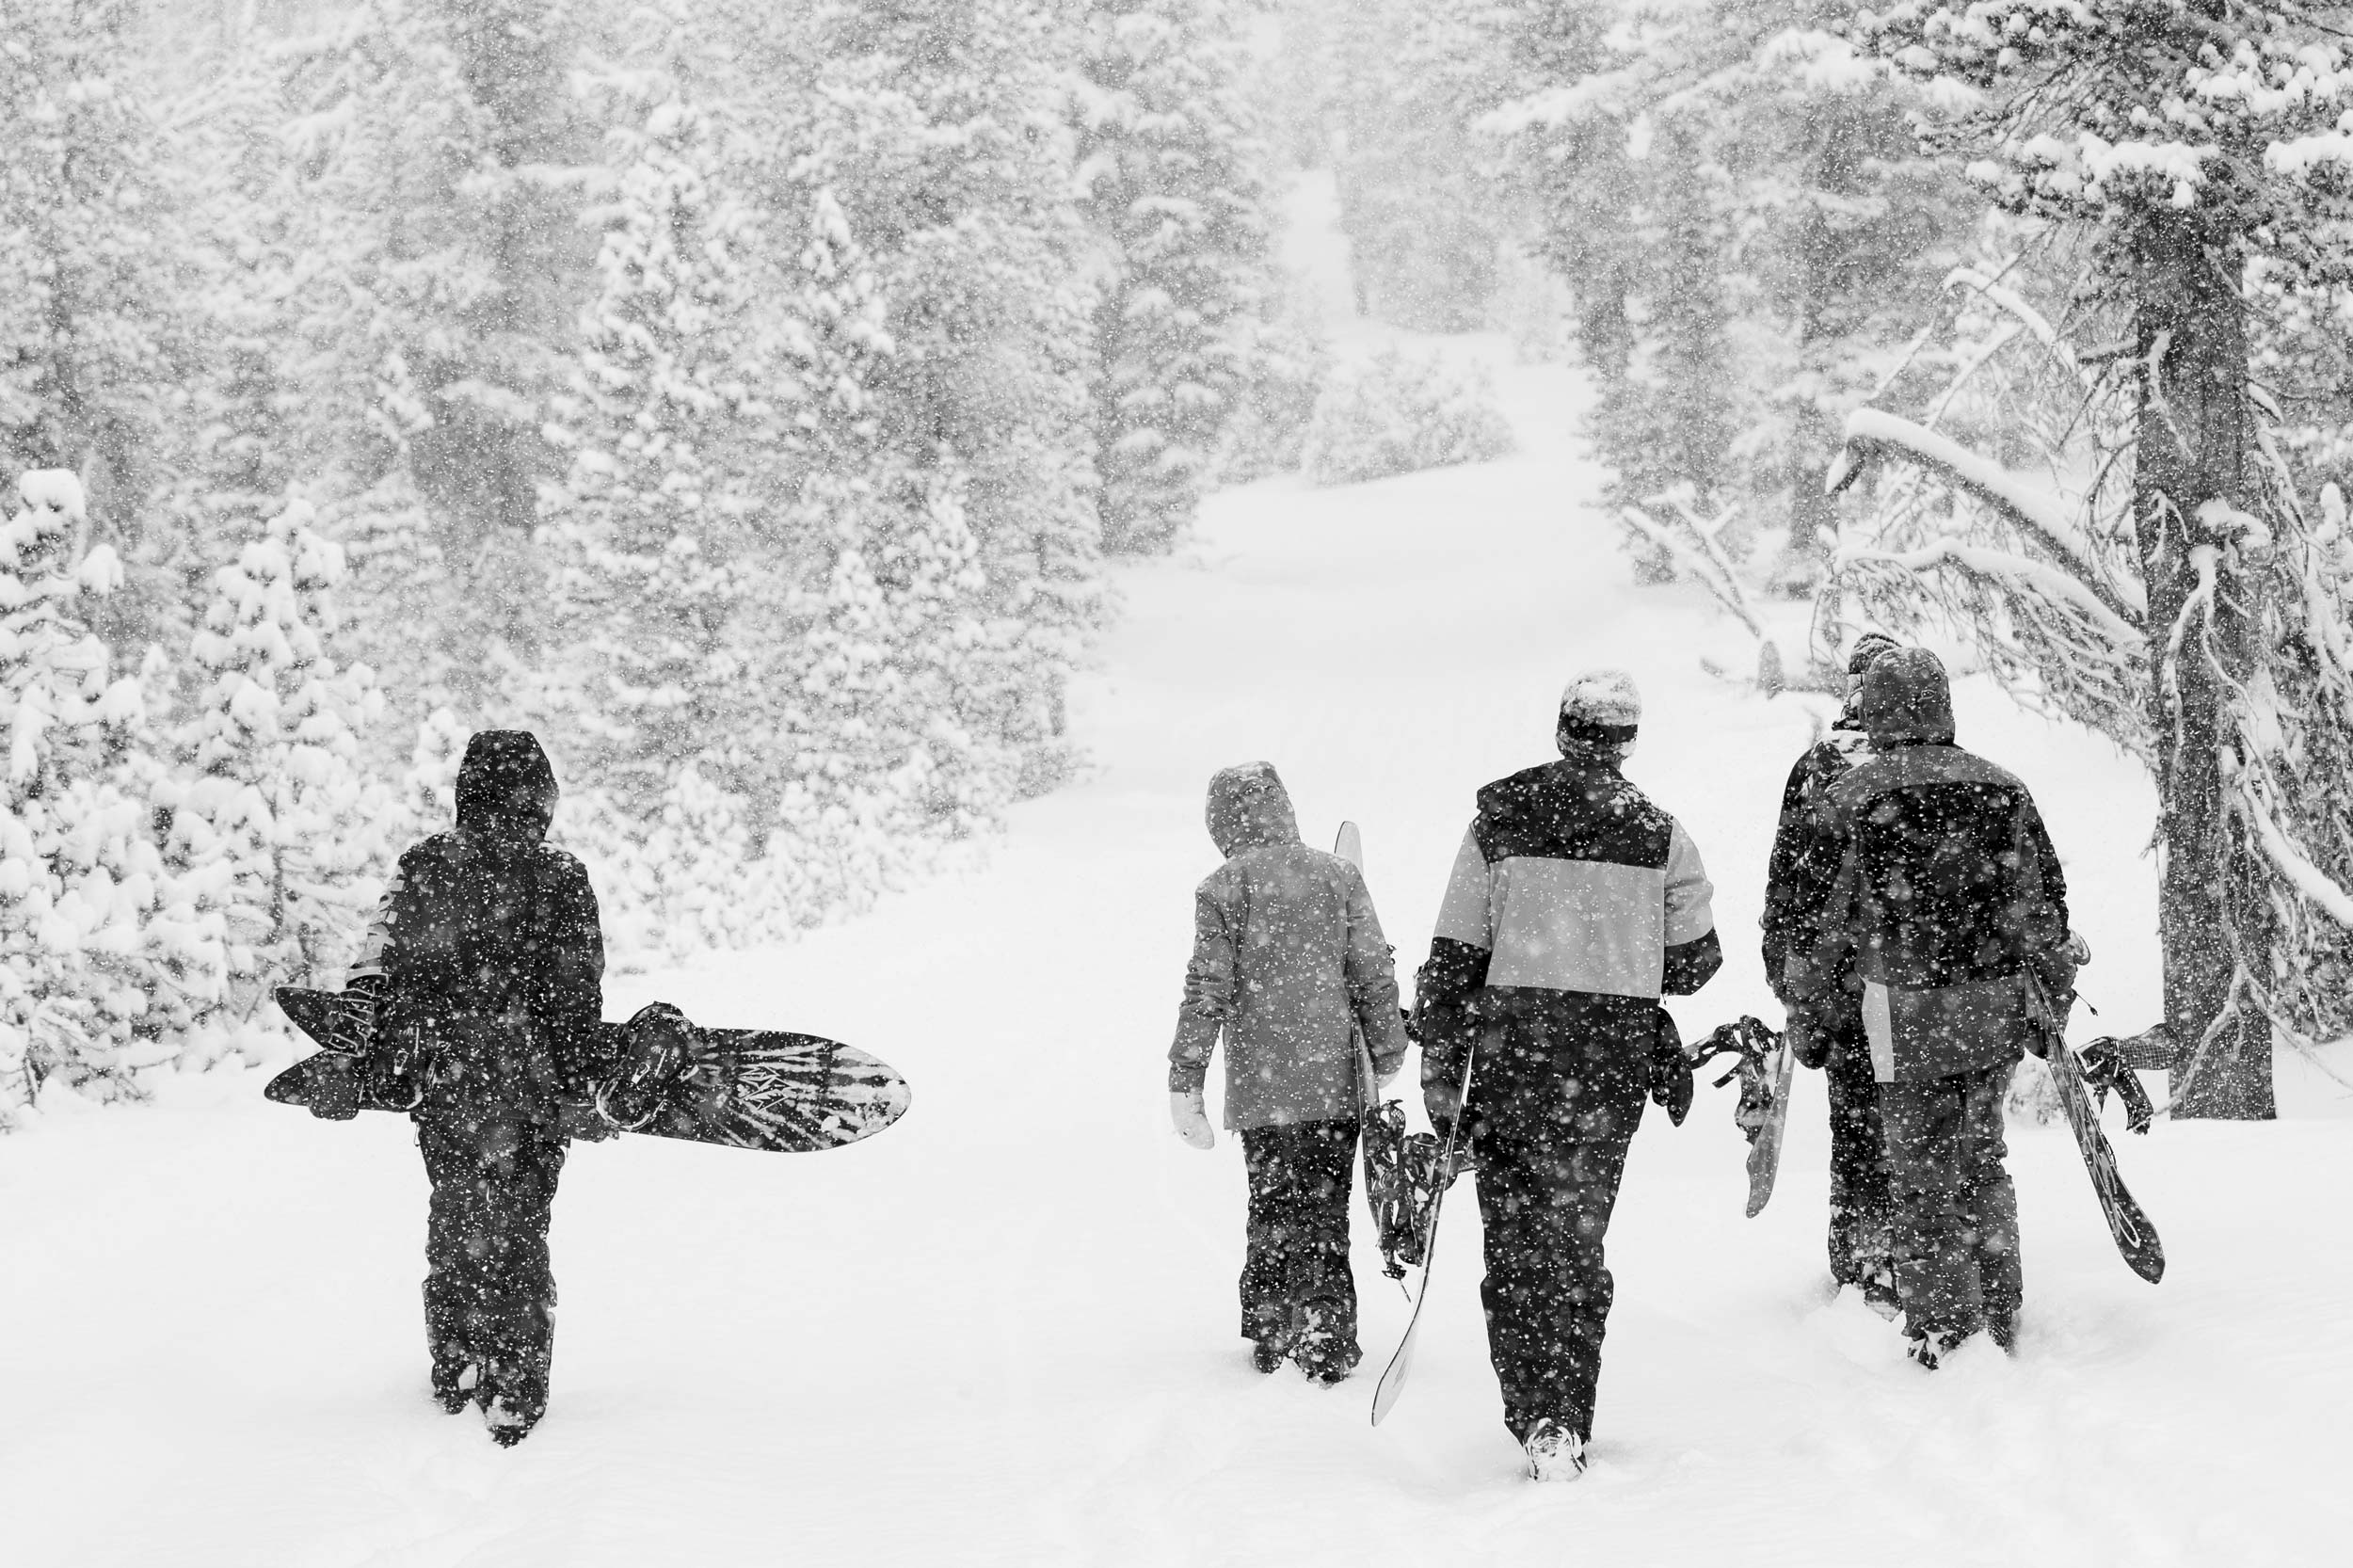
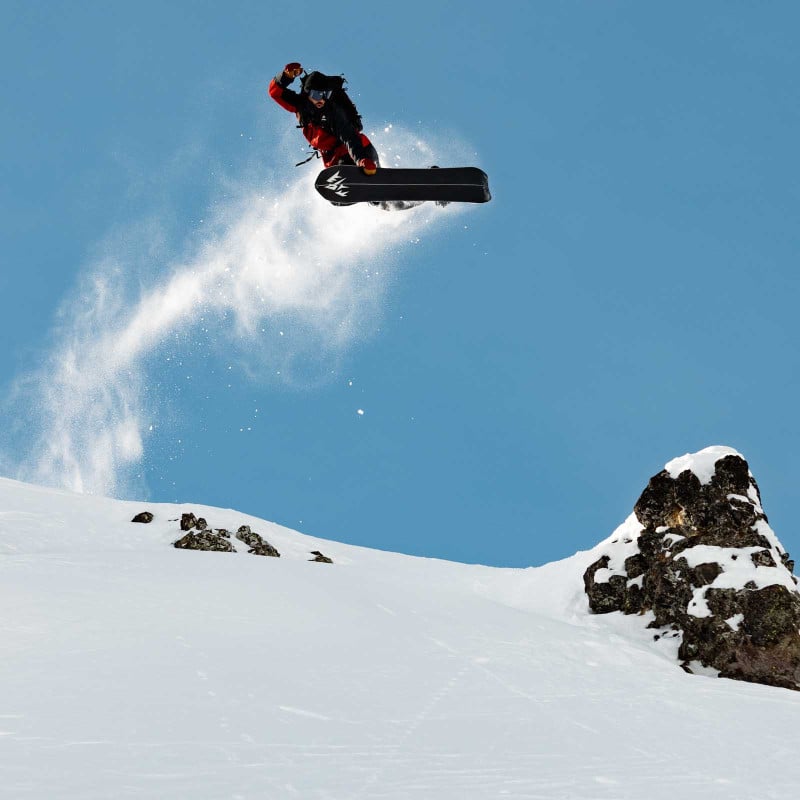
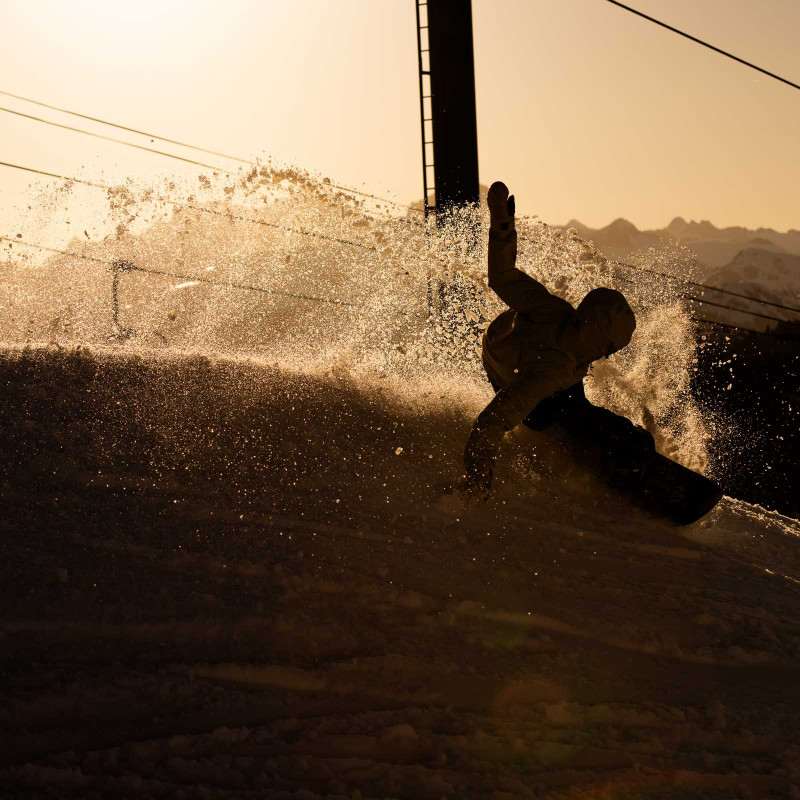
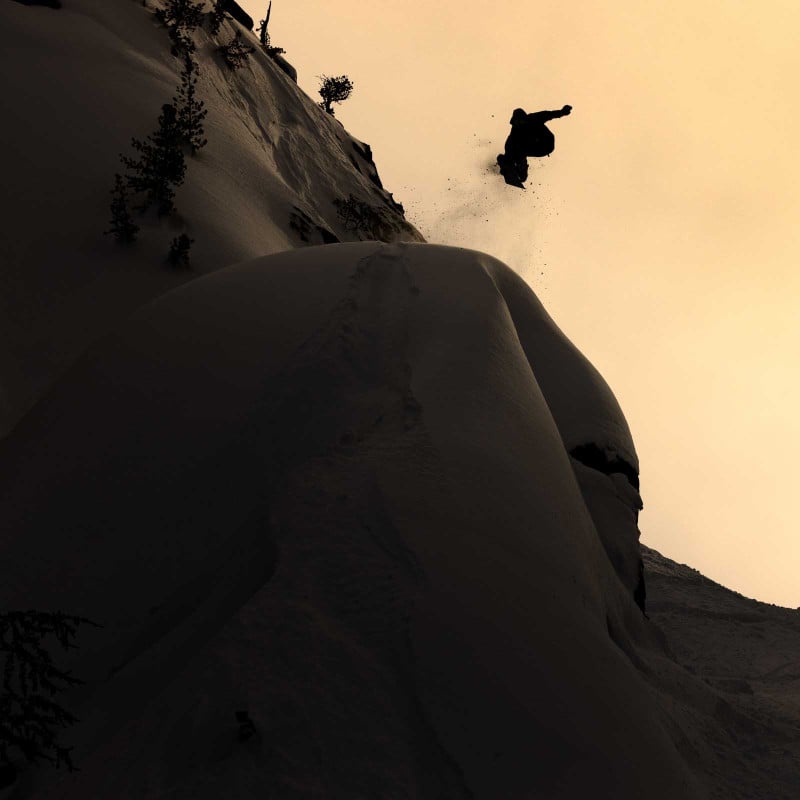
Elena Hight / Photo – Andrew Miller
After a long summer, no doubt your head and heart are fired up to snowboard again. But what about your body and board? Are they ready to shred?!
Hopefully you’ve been staying active hiking, biking, climbing, surfing or skateboarding, and your legs are still strong and limber. And maybe you remembered to throw a coat of storage wax on your snowboard before you stashed it away at the end of last season?
If that sounds like you, congrats! You’re a board scrape away from strapping in. But what if you’ve been working and BBQ-ing all summer, and your board is bone dry from the day you put it down? Don’t stress! There is still plenty of time to get your body and board ready for opening day and we’re stoked to share some tips for helping you make it happen.
Pre-season strength building
While leg strength is critical, core strength and cardiovascular endurance also play a major role in how long and how hard you can ride. To get prepared to shred bell-to-bell or splitboard until dark, it’s important to focus on building all around strength, balance, endurance and flexibility.
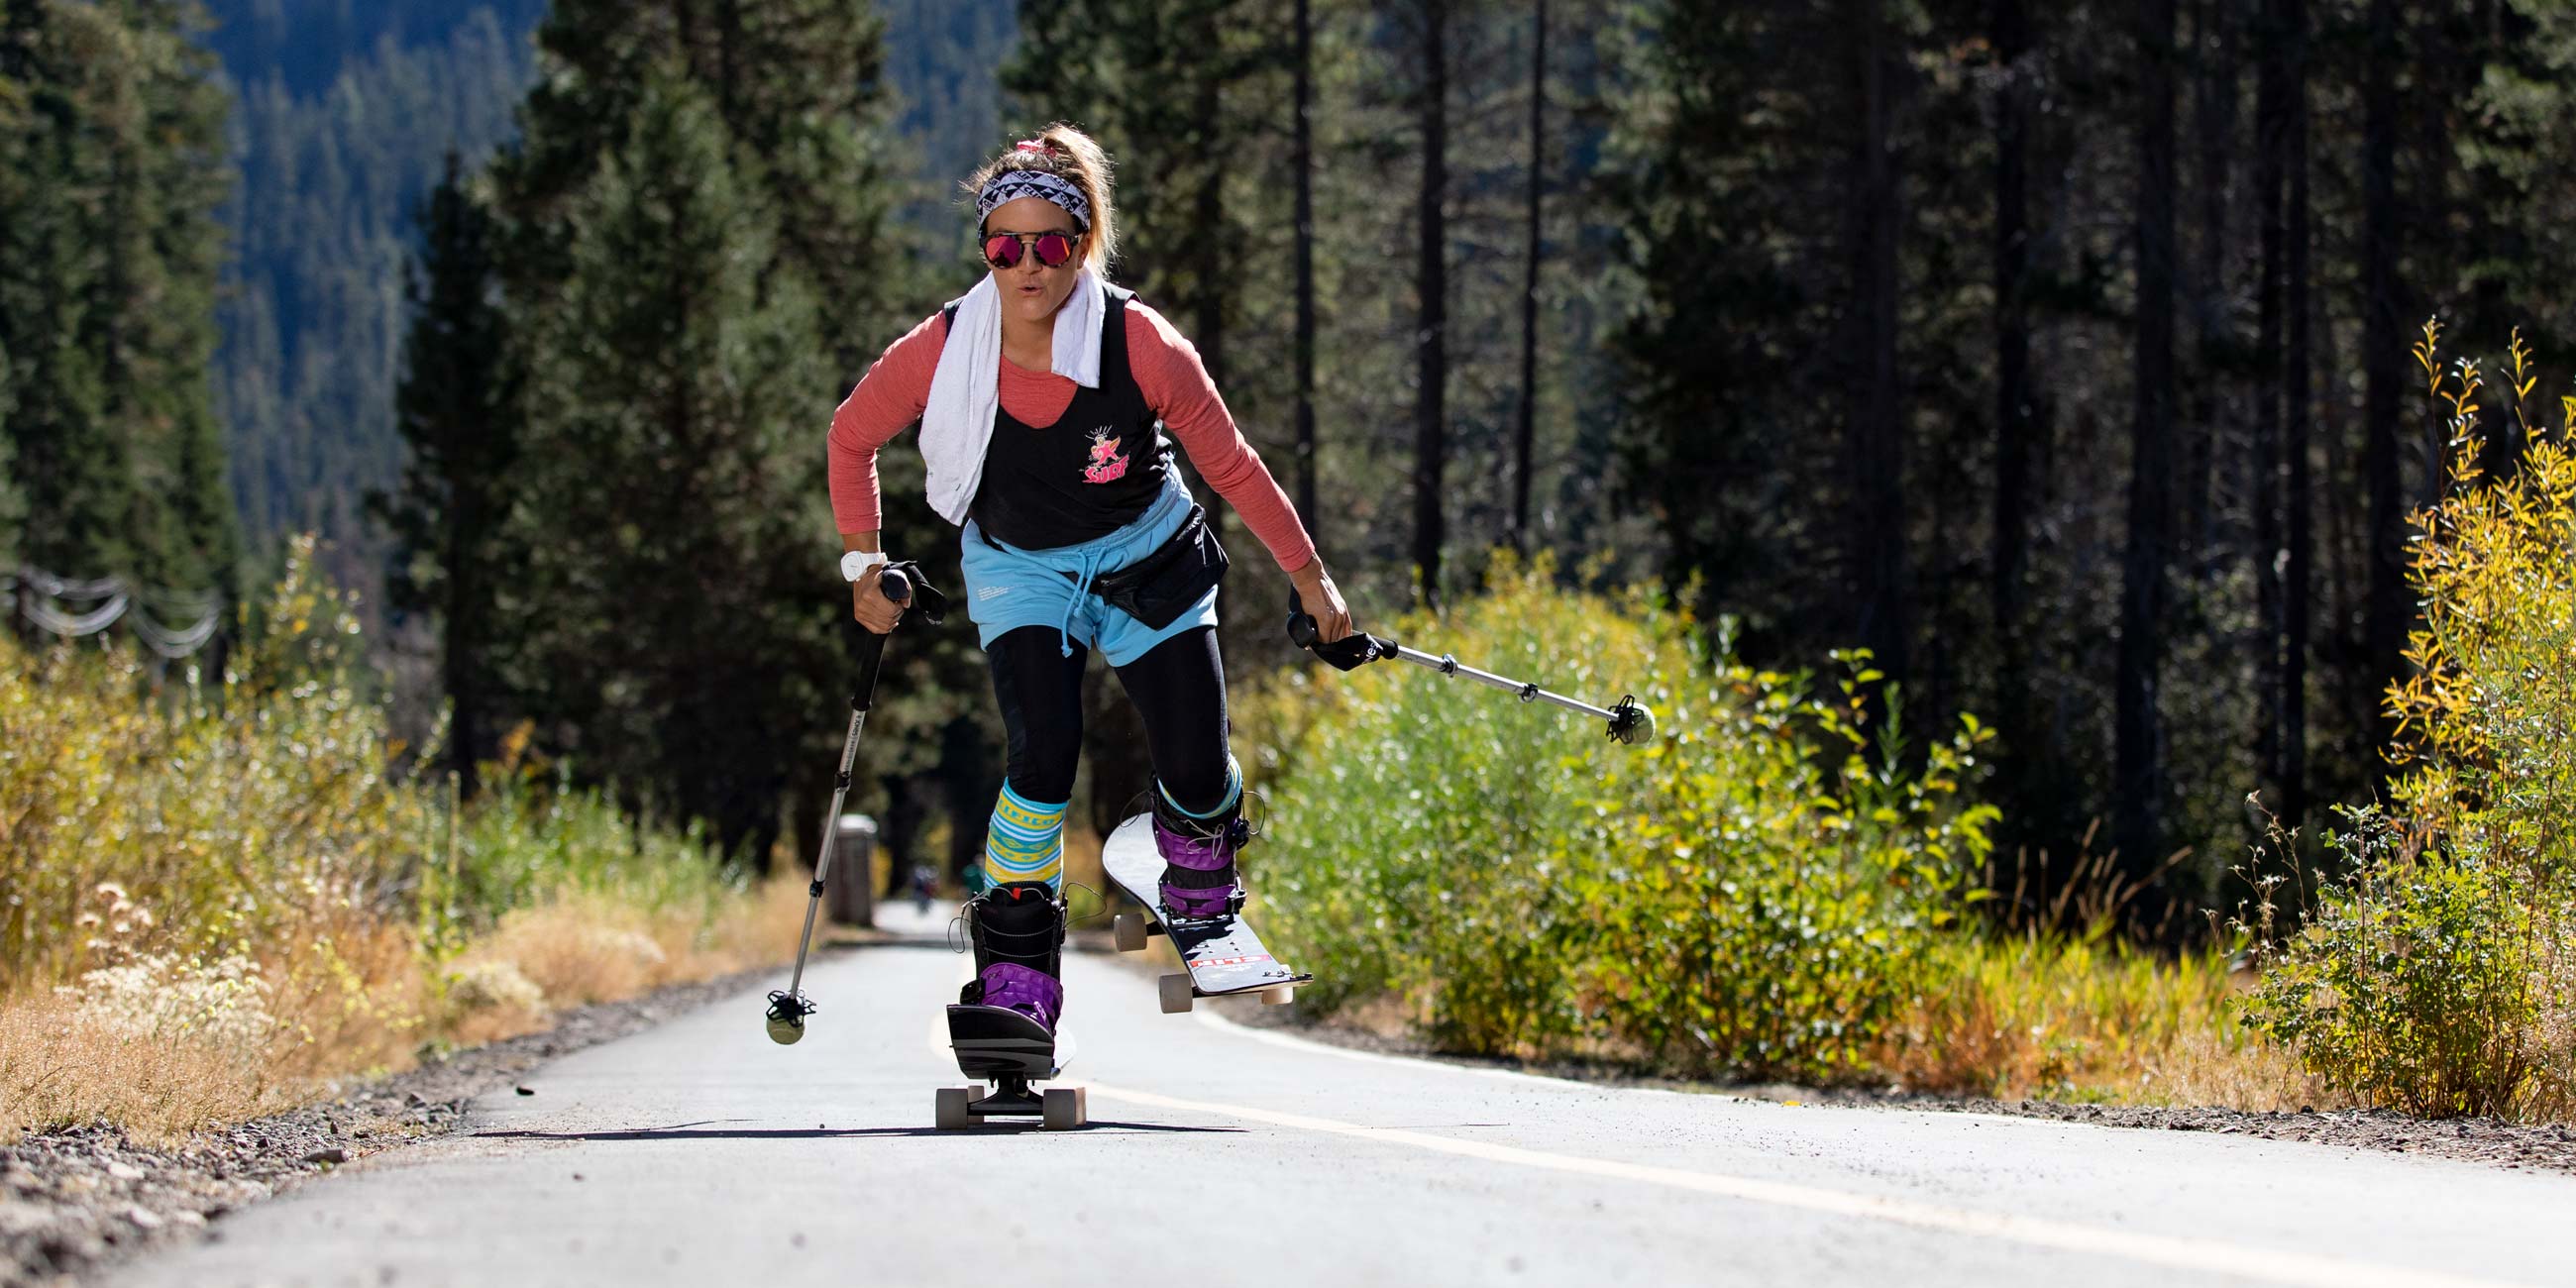
If you’ve been chillaxing all summer the first step in getting shred ready is to simply get moving again. Make a plan to start hiking, biking or skating a few times a week. Don’t go too hard, too fast though. Start with a distance that gets you sweating a little bit, but doesn’t blow your doors off.
Once your legs and lungs are back in the swing of things you can start focusing on more snowboard specific training exercises. Working out at a gym is one option, but it’s definitely not mandatory. There are a ton of exercises you can do at home, in the backyard, or at the park that will help you build strength and balance without using any equipment.
Here’s four basic exercises to get you started:
Note - These exercise recommendations should be modified according to your own personal fitness. Start slow and build the number of sets and reps as you gain strength.
Squats
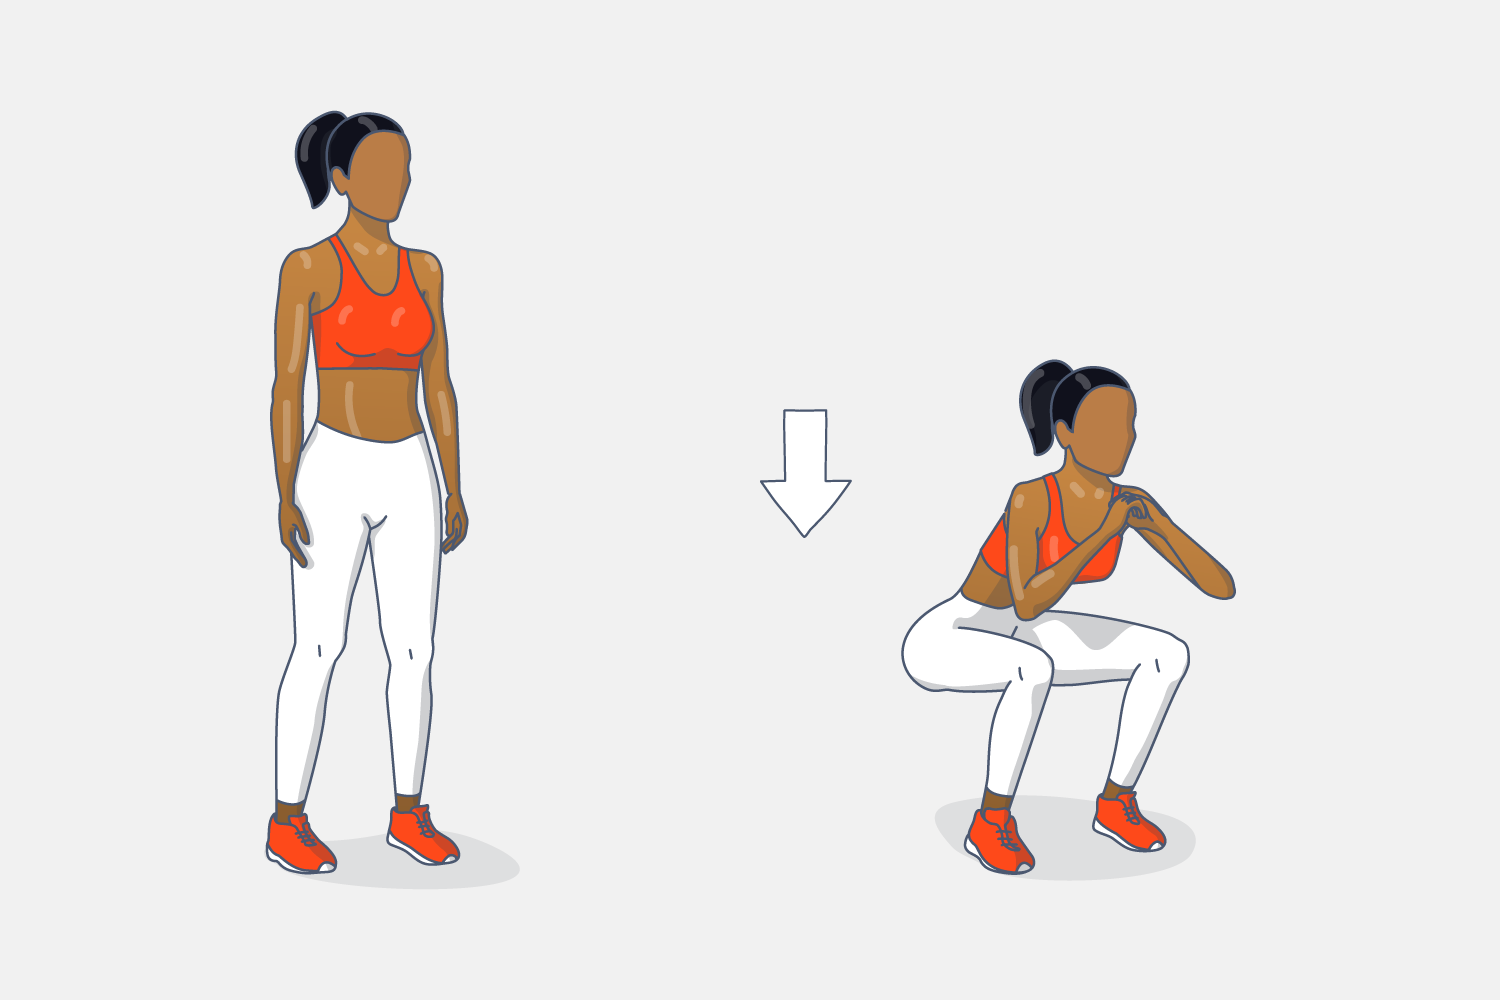
Squats are one of the best training exercises for snowboarding. They strengthen the quads, hamstrings, hips and butt.
To do a squat, stand with your feet shoulder width apart and balance your weight in your heels. Now bend at the knees and push your knees out over your toes while keeping your core and lower back tight. As you bend, make sure your knees are in line with your toes, not folding inward or outward.
Start with three sets of ten reps and build from there.
Lunges
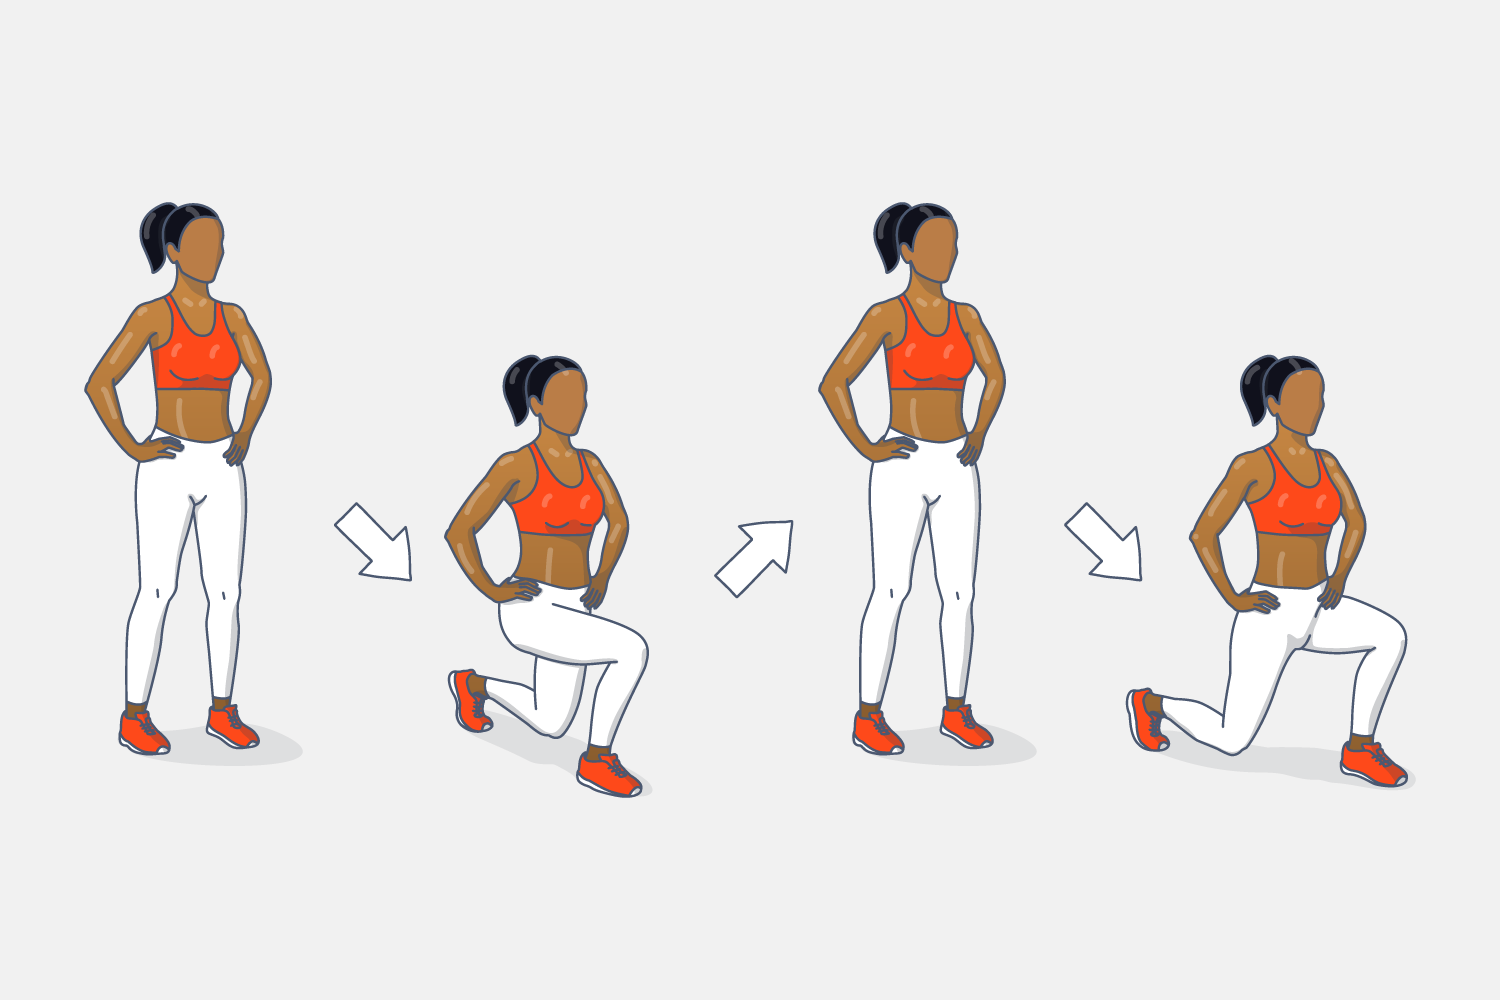
Lunges are a dynamic exercise that works on your balance while strengthening your quads, inner thighs and butt.
To begin a lunge, stand with your feet shoulder width apart. Now take a big step forward while keeping your upper body straight over your hips. As you step forward your front thigh should be parallel to the floor while your back knee drops toward the floor. Now step forward with your back foot and return to the standing position. Repeat the movement with the other leg and then continue the set alternating between sides.
Start with two sets of ten reps and build from there.
Planks
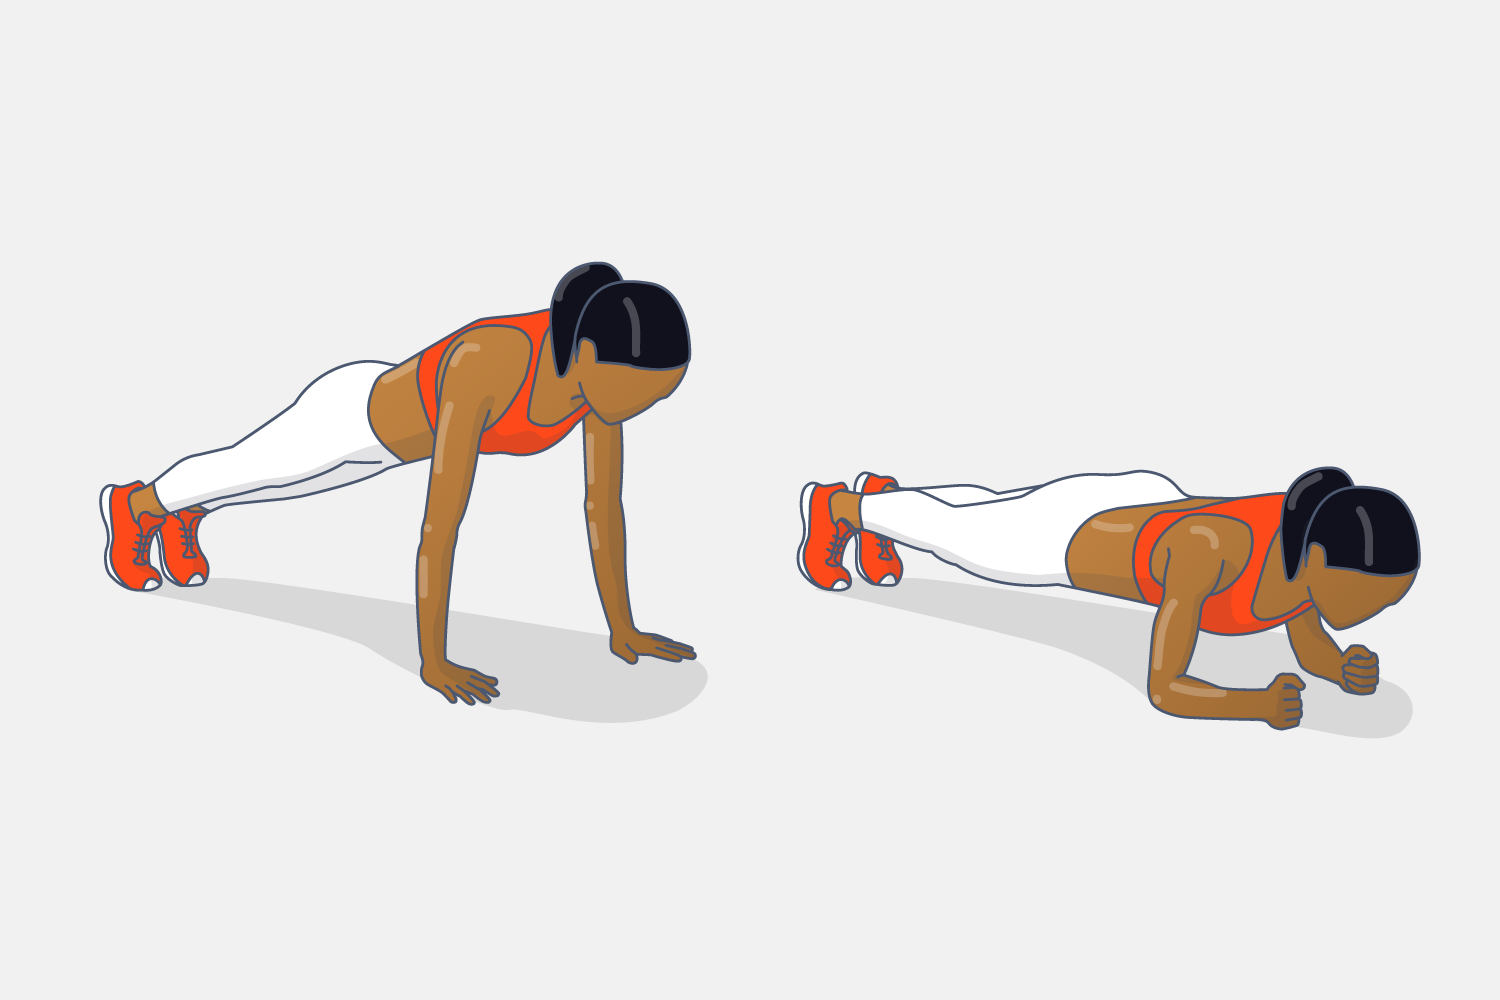
Planks are a simple and deceivingly effective exercise for building core strength.
To do a plank, get in the push-up position with your legs straight and your hands directly under your shoulders. With your core tight and your hips in line with your upper body, hold this position for twenty seconds.
Start with five 20-second reps and build from there.
Push-ups

Love them or hate them, push-ups are a great exercise for building tricep, shoulder and chest strength. Upper body strength is important for picking yourself up after you fall or sit down on the mountain.
To do a basic push-up, get in the same position as the plank exercise. Then lower your chest toward the ground while bending your arms until your elbows are at 90 degrees. Now push with your arms and bring your chest back up to the plank position while keeping your core tight. If you have difficulty with traditional pushups, try the same movement starting with your knees on the ground.
Start with a set of ten pushups and build from there.
Pre-season board prep
So you tossed your board on the side of the garage after closing day and haven’t touched it since. Chances are when you flip it over and look at the base it looks dry, white in spots, and the edges are coated in splatters of rust.
Could you grab the board, throw it in the truck and go shred the heck out of it as it is? Most definitely. It’s not dead. It’s just not in prime condition for high performance opening day shredding. If you want to start the season with your board gliding fast and gripping hard you’ll need to clean it up, sharpen your edges and wax it.
Clean up
The first step in the process is to clean the base and edges. To do that you’ll need a base cleaner or degreaser and a rag.
Drip a bunch of drops of base cleaner on the rag and then wipe down the base until you stop picking up old wax and dirt on the rag. Repeat the same process for cleaning the edges, but you’ll likely need to use a scouring pad to scrub off the rust spots.
Now let the base dry for a minute or two. The base cleaner will evaporate leaving the base looking even more dry and potentially white by the edges.
Sharpen the edges
The first step in sharpening your edges is to knock off any burrs. The best tool for this is a diamond stone.
Run your finger down the length of the edge and feel for any burrs. If you feel any, run the diamond stone against the edge in that spot with light pressure, while keeping the stone flat to the sidewall or the base.
Once any burrs are gone you can move on to sharpening the edges. The easiest way to sharpen your edges is to use an edge sharpening tool that has a small file built into it. The key to using any of these tools is to run it along your edges in long tip-to-tail pulls with even pressure throughout the pass. You also need to make sure the file is placed in the tool correctly for the direction you’re pulling the file. To switch edges you’ll likely need to flip over the file within the tool.
If used correctly a basic edge sharpening tool should do an adequate job of resurfacing your edge and improving the overall sharpness. It will not completely clean up major edge gouges, however, or give you an edge worthy of racing down bulletproof ice. For that quality of edge tune you will need advanced tuning skills and a real file, or just take your board into the tune shop.
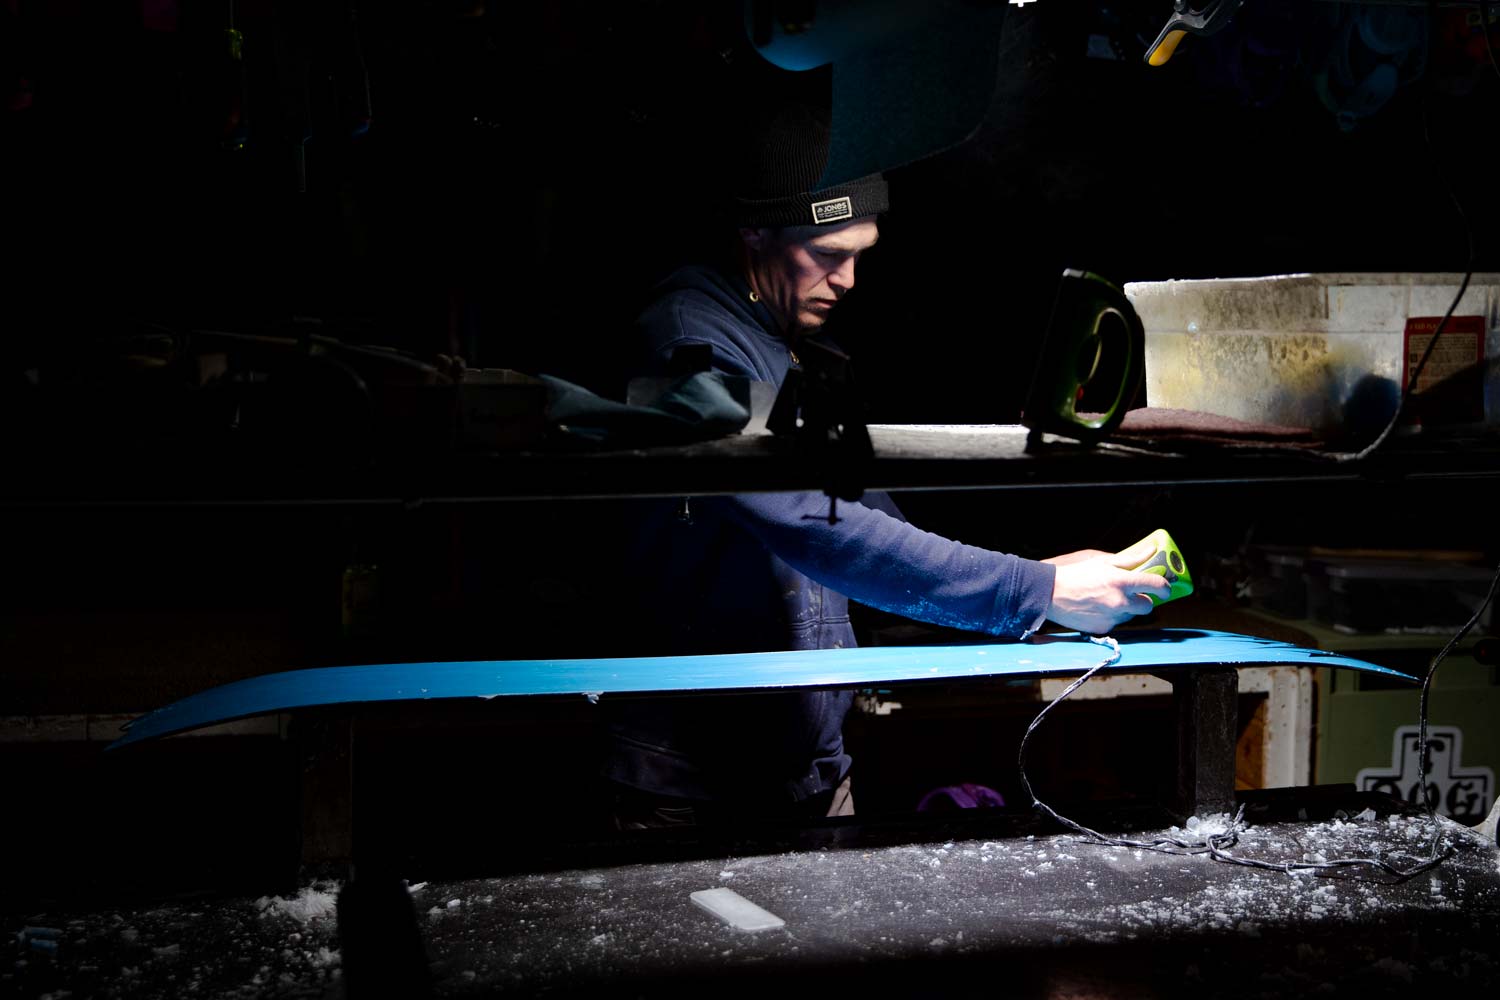
Wax it up
Once your edges are sharp it’s time to wax the base. If you cleaned your base with base cleaner it will need to be hot waxed. Rub on wax won’t do much for a completely clean, wax-free base. If your base wasn’t that dry to begin with, and you didn’t clean it, you could maybe get away with a rub on wax. Just depends on how fast you wanna go.
Waxing a board isn’t difficult, but there are some tricks to do it effectively and efficiently. Learn all about how to wax from Jones team rider Jimmy Goodman in a new tuning video coming soon.
Tighten up
The last step in getting your board ready to rip is to check your binding bolts and straps. If you still like the stance you finished the season with, simply give each binding bolt a tug with a screwdriver and make sure they are tight.
Next up, inspect your straps and make sure the plastic ladders aren’t broken and the screws holding the buckles on the straps are tight. Thirty seconds of examining the straps for any defects can save you a serious headache on the hill if your strap breaks unexpectedly.
If you are starting the season with new boots you’ll also want to make sure your straps are sized correctly for the volume of the new boot. Way better to do that in your living room than in line for the chairlift while all your buddies are chomping to kick off the season.
Rock boards and splitboards
Opening day snow conditions at the resort or in the backcountry are usually pretty shallow, which means above average odds of hitting a rock and damaging your board.
If you have an older rock board that you can ride for the first few weeks of the season until the snow pack gets deeper it can save you a lot of heartache if/when you do cream a rock. Nothing worse than destroying a brand new board on opening day of the season because you are frothing too hard and forget the rocks are lurking only inches under the snow surface.
All of these tuning tips also apply to preparing your splitboard for the season. A splitboard just has double the edges to clean and sharpen, plus a lot more binding and hardware bolts to tighten up. Another pro move is to add a drop of blue loctite to your splitboard binding and hardware bolts in your pre-season tune. If you're lucky the loctite will keep your hardware bolts tight for the entire season.
It’s smart to inspect your splitboard skins before you pull them out for your first tour as well. Hopefully you stored them in a cool, dry place with the adhesive stuck to the cheat sheets. If so they should be in the exact same condition as you left them, ready to skin! If the glue is holding debris from dirty spring tours do your best to pick out the pebbles and pine needles.
Get fired up
Feeling good about your pre-season prep? You should be. None of these tips are too difficult to pull off, it’s just a matter of taking the time to do them.
That said, if you do completely fail at tuning up your body and board pre-season, and just walk up to the lifts on opening day with a dirty board and sloppy legs you’re going to be just fine right?
If you got a few seasons under your belt, likely so. You’ll want to take it easy and not try to rip as hard as you did at the end of last winter though. Never fun to get hurt early in the season because you overestimated your strength or balance.
But why even risk it? Get strong, get your gear dialed and start getting stoked. Winter is on it’s way!
Gear for your next adventure

- out of stock
- out of stock


Share & Comment
Gear 101
Learn how to choose the right gear and how to use it
This is our product help center where you can learn basic information about how to choose the right gear and how to properly use the gear to unlock highest performance.
Our Mission
Design innovative mountain gear that sets new performance standards and be a leader
in
manufacturing sustainability, environmental outreach and backcountry education.


© 2024 Jones Snowboards. All rights reserved.
Nidecker North America, 11253 Brockway Rd. Suite E202, Truckee, California 96161 - USA